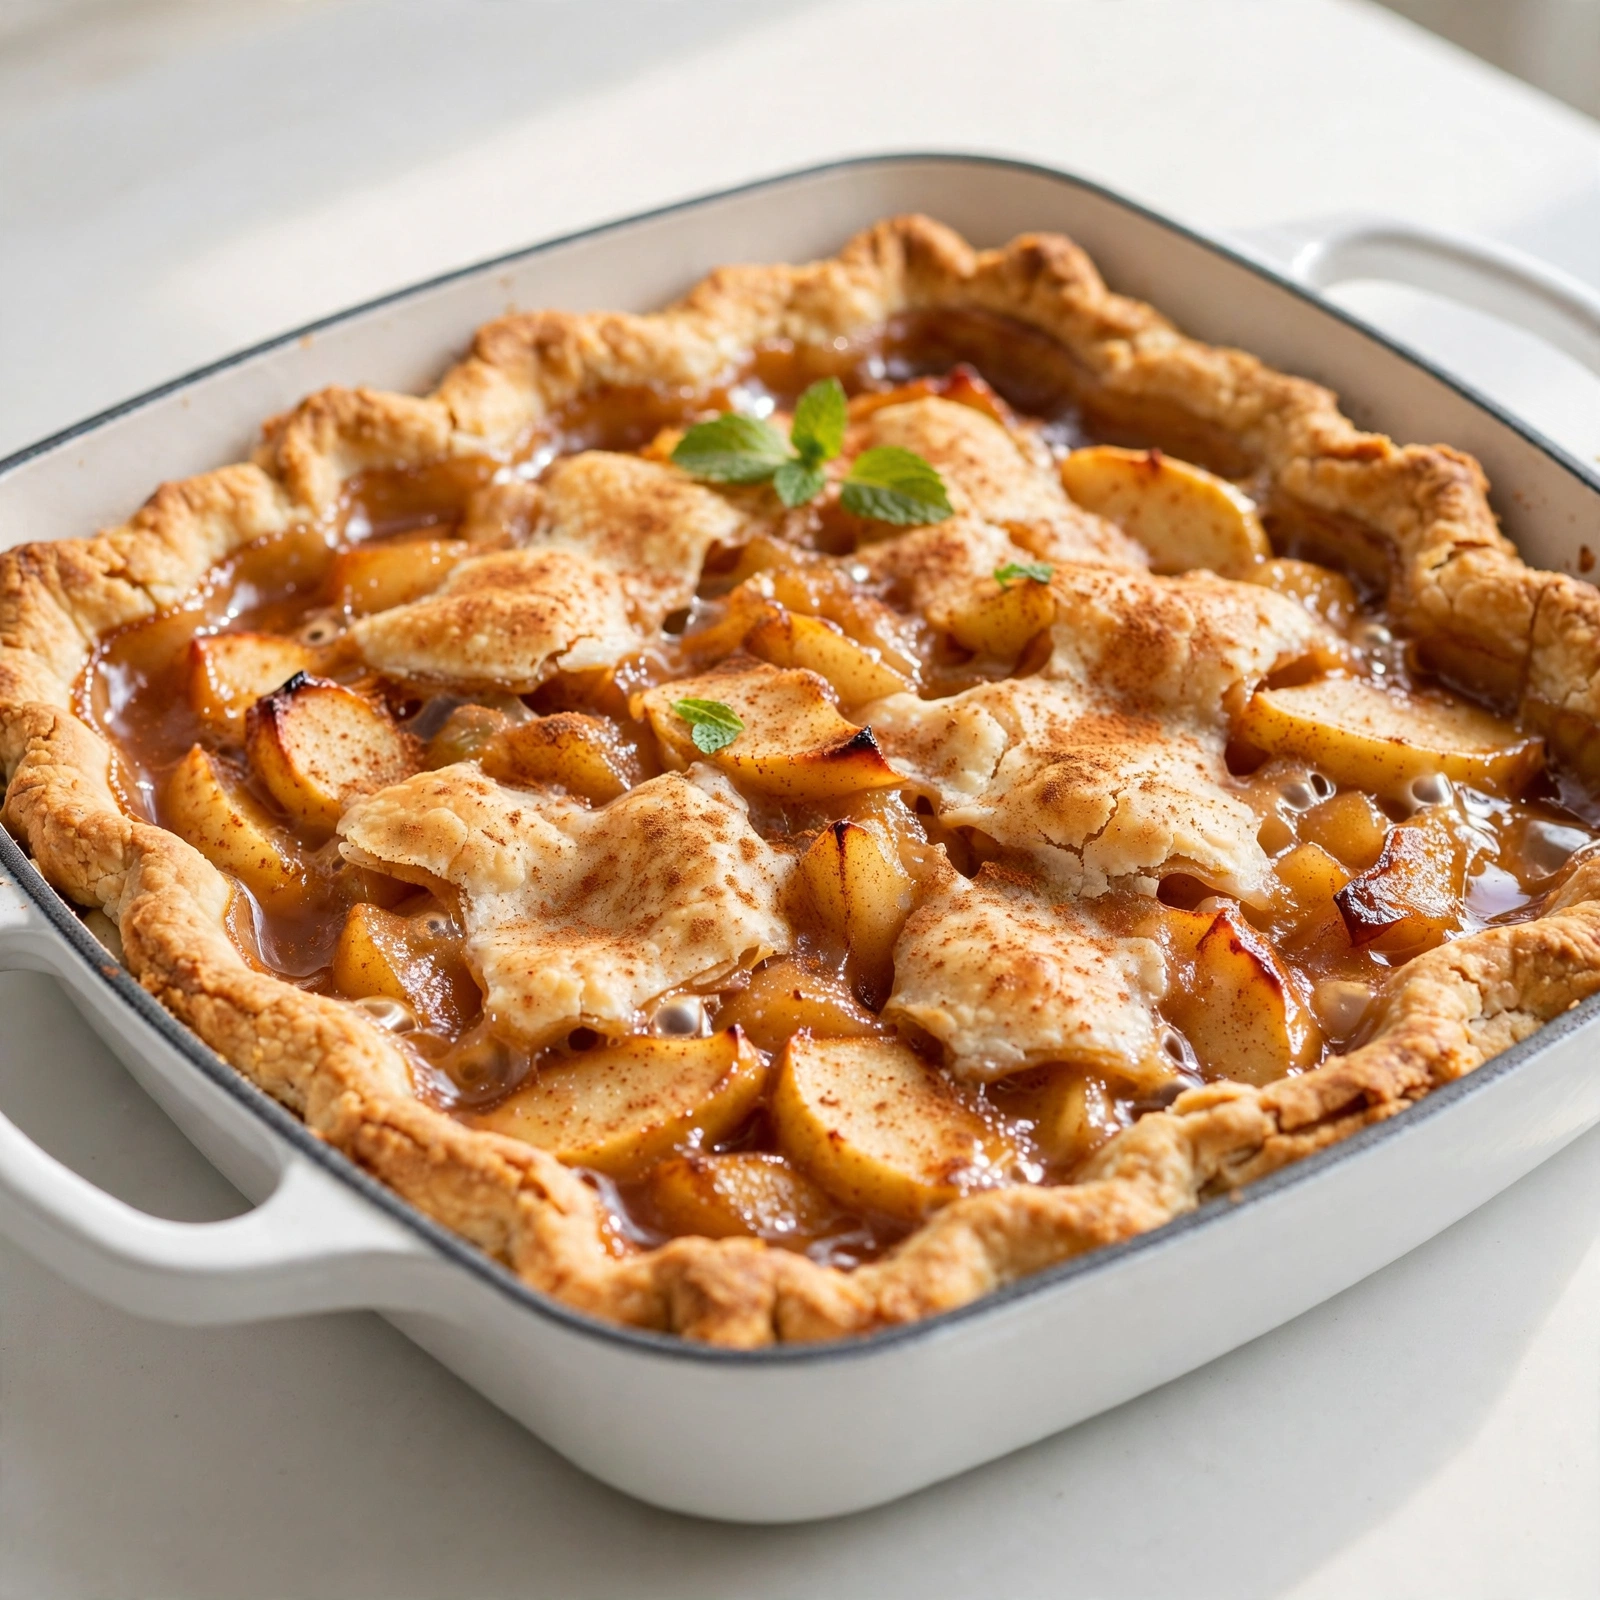
Rustic Skillet Apple Pie
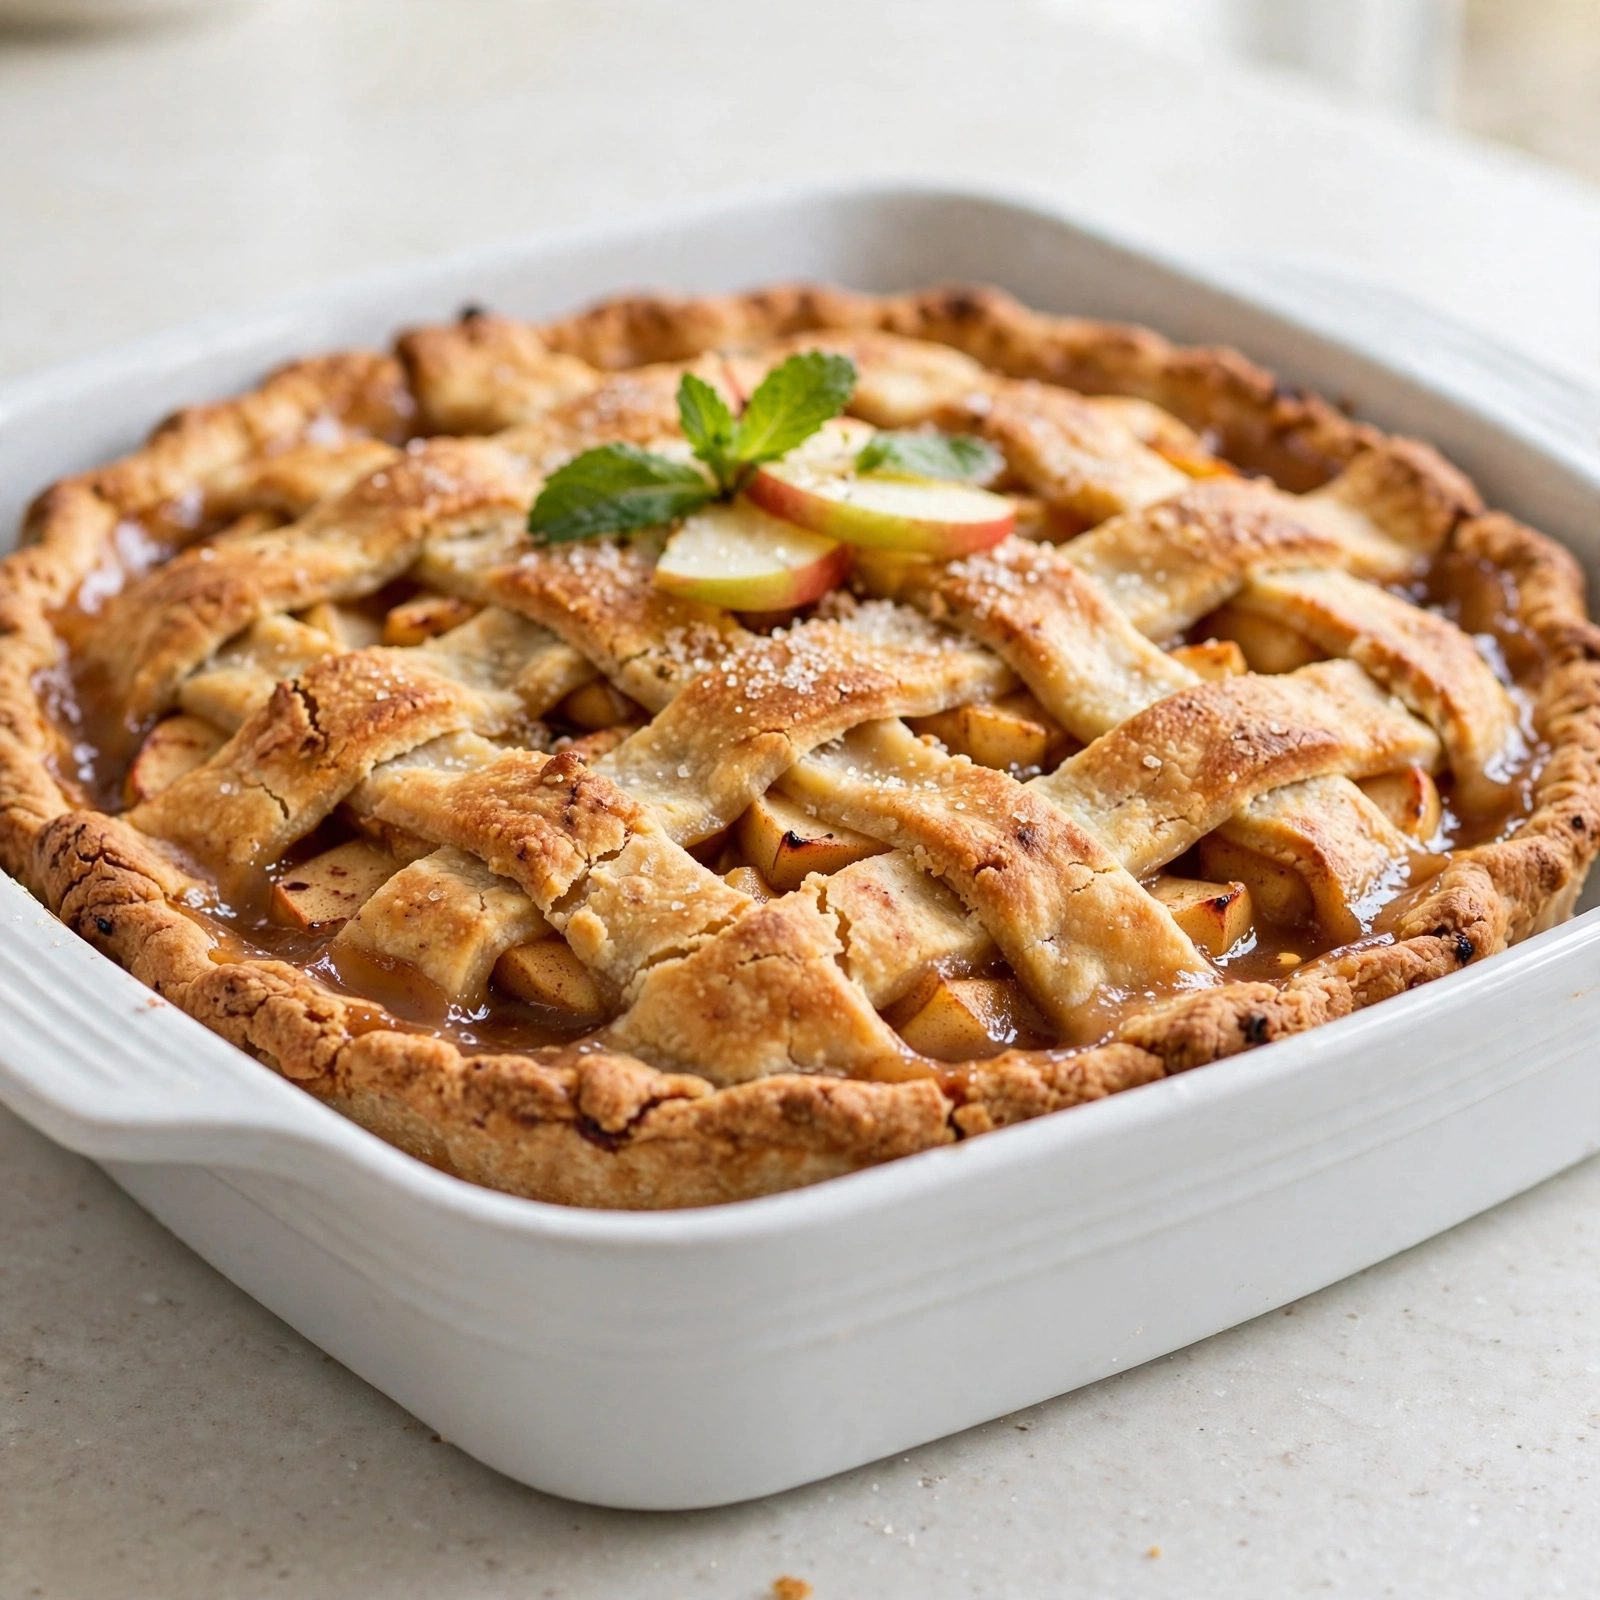
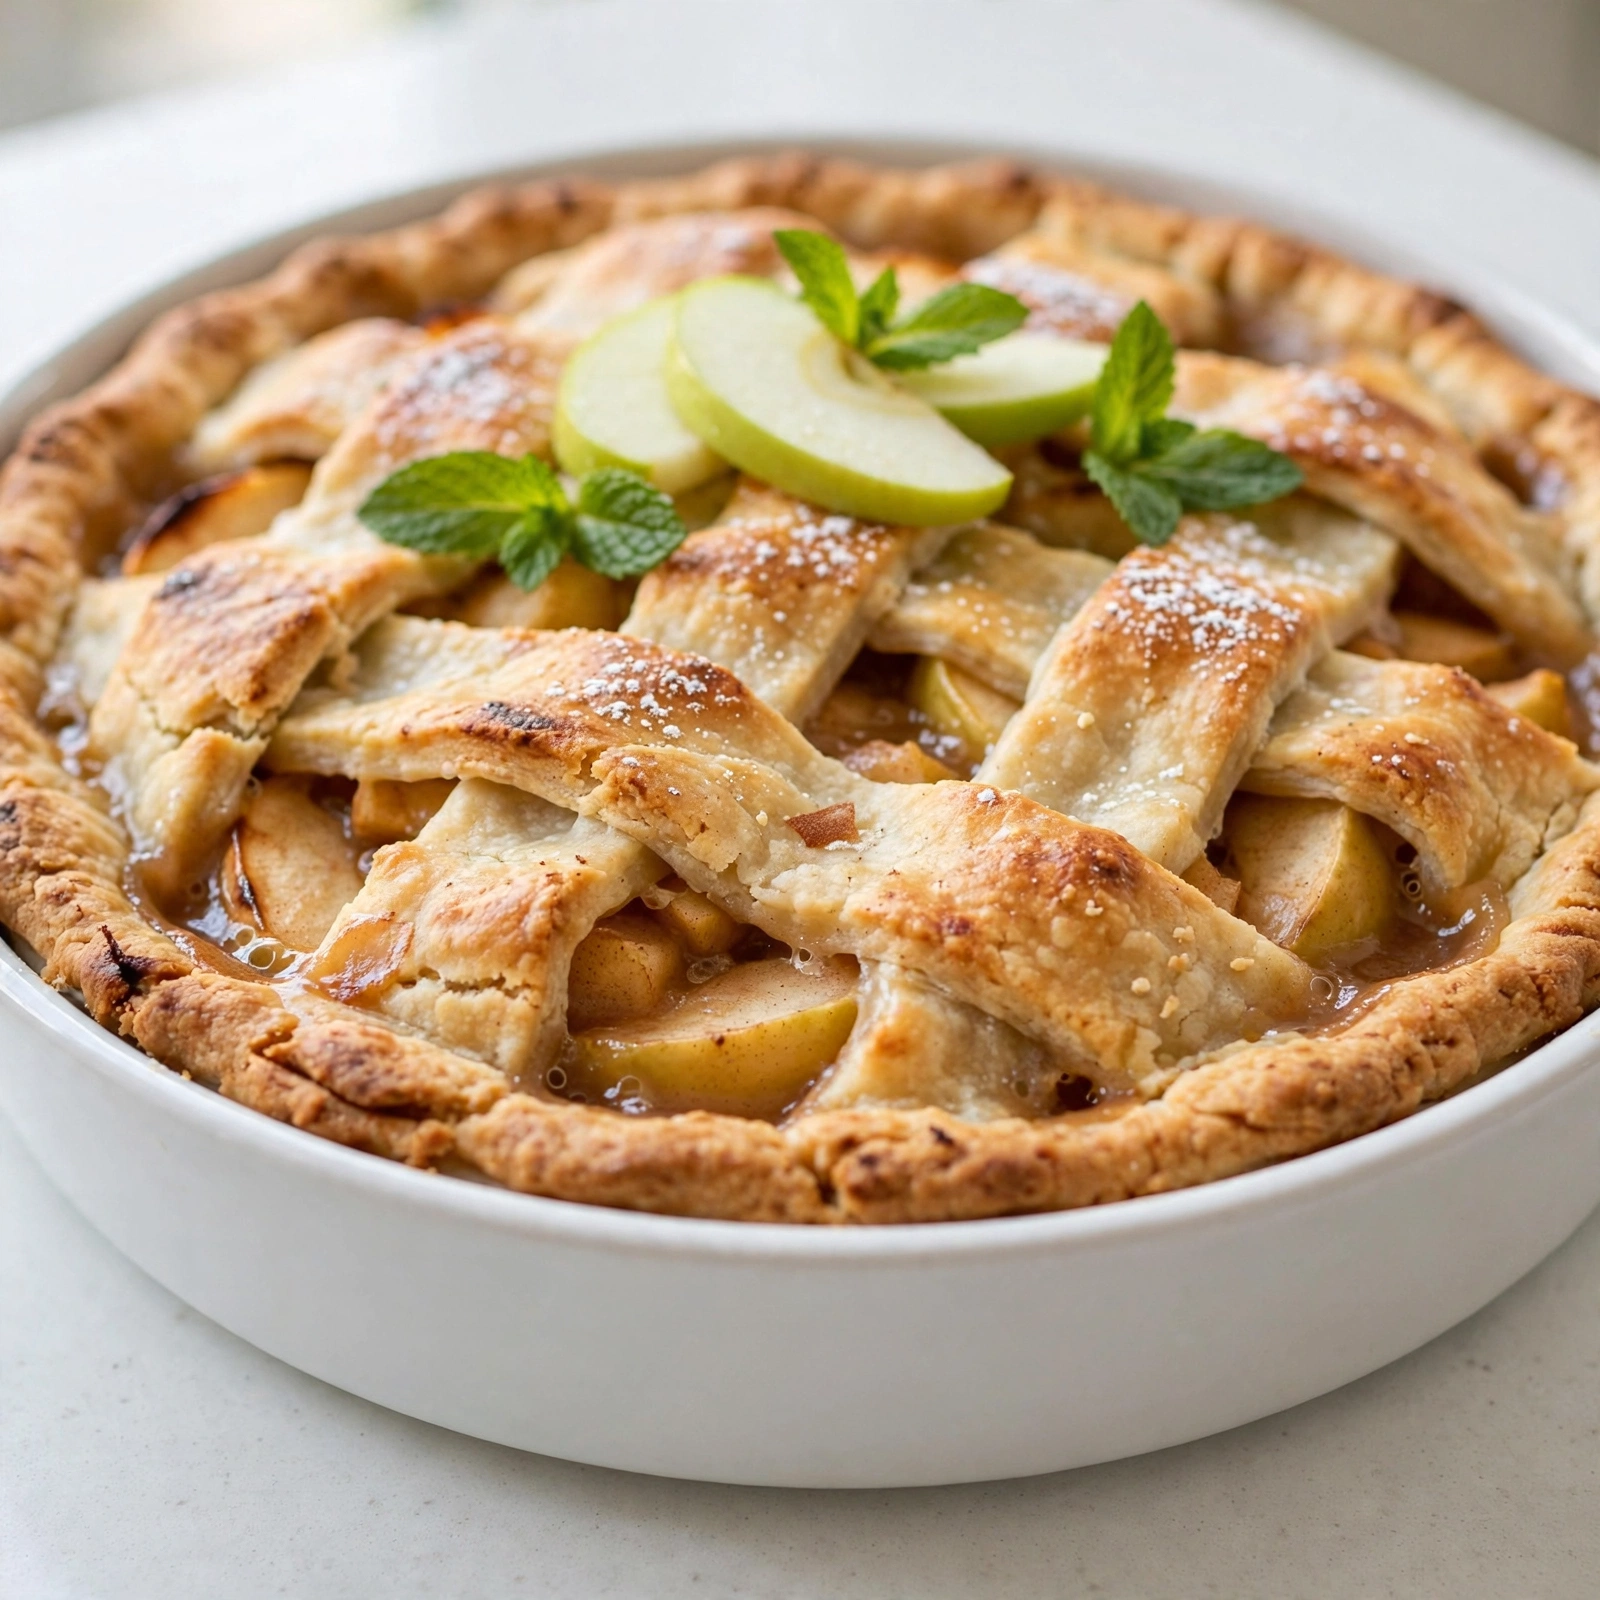
This rustic skillet apple pie bakes up bubbling and golden in a cast iron pan, with a flaky homemade crust and warm apple pie spice in every bite.

Why You Will Love This Rustic Skillet Apple Pie
There is something magical about pulling a bubbling, golden apple pie straight from a cast iron skillet. This rustic skillet apple pie recipe takes everything you love about a classic apple pie and gives it a warm, homestead style twist, baked in the same pan you would use for cornbread or a stovetop skillet dinner. The edges get deeply caramelized, the crust turns wonderfully flaky, and the whole kitchen fills with the scent of apple pie spice.
If you have ever admired a Pioneer Woman skillet apple pie or wondered how to turn a stove top apple pie into a full baked dessert, this recipe is your answer. It is one of those rustic pie recipes that looks impressive but does not require any fancy pie plate or lattice skills to pull off.
Before we get cooking, the right tools and ingredients make a real difference here. A sturdy cast iron skillet is the heart of this recipe, since it holds and distributes heat evenly for that deep golden crust, and a good pastry cutter makes quick work of the butter and flour. These are the products that genuinely help this recipe shine:
The Secret to a Great Skillet Apple Pie Crust
A good crust is really about temperature and patience. Keeping your butter cold, working quickly, and chilling the dough before rolling are the three things that make the biggest difference between a tough crust and a flaky one.
- Use a mix of tart and sweet apples, like Granny Smith and Honeycrisp, for the best balance of flavor and texture.
- Do not skip the resting time for the apple filling. It draws out extra juice so your pie is not watery.
- Melting butter directly in the skillet before adding the crust gives you that irresistible caramelized bottom crust cast iron desserts are known for.
Chef's Tip: If your kitchen is warm, pop your rolled out dough back in the fridge for 10 minutes before transferring it to the skillet. Cold dough is much easier to work with and holds its shape better in the oven.
Building the Perfect Apple Pie Spice Filling
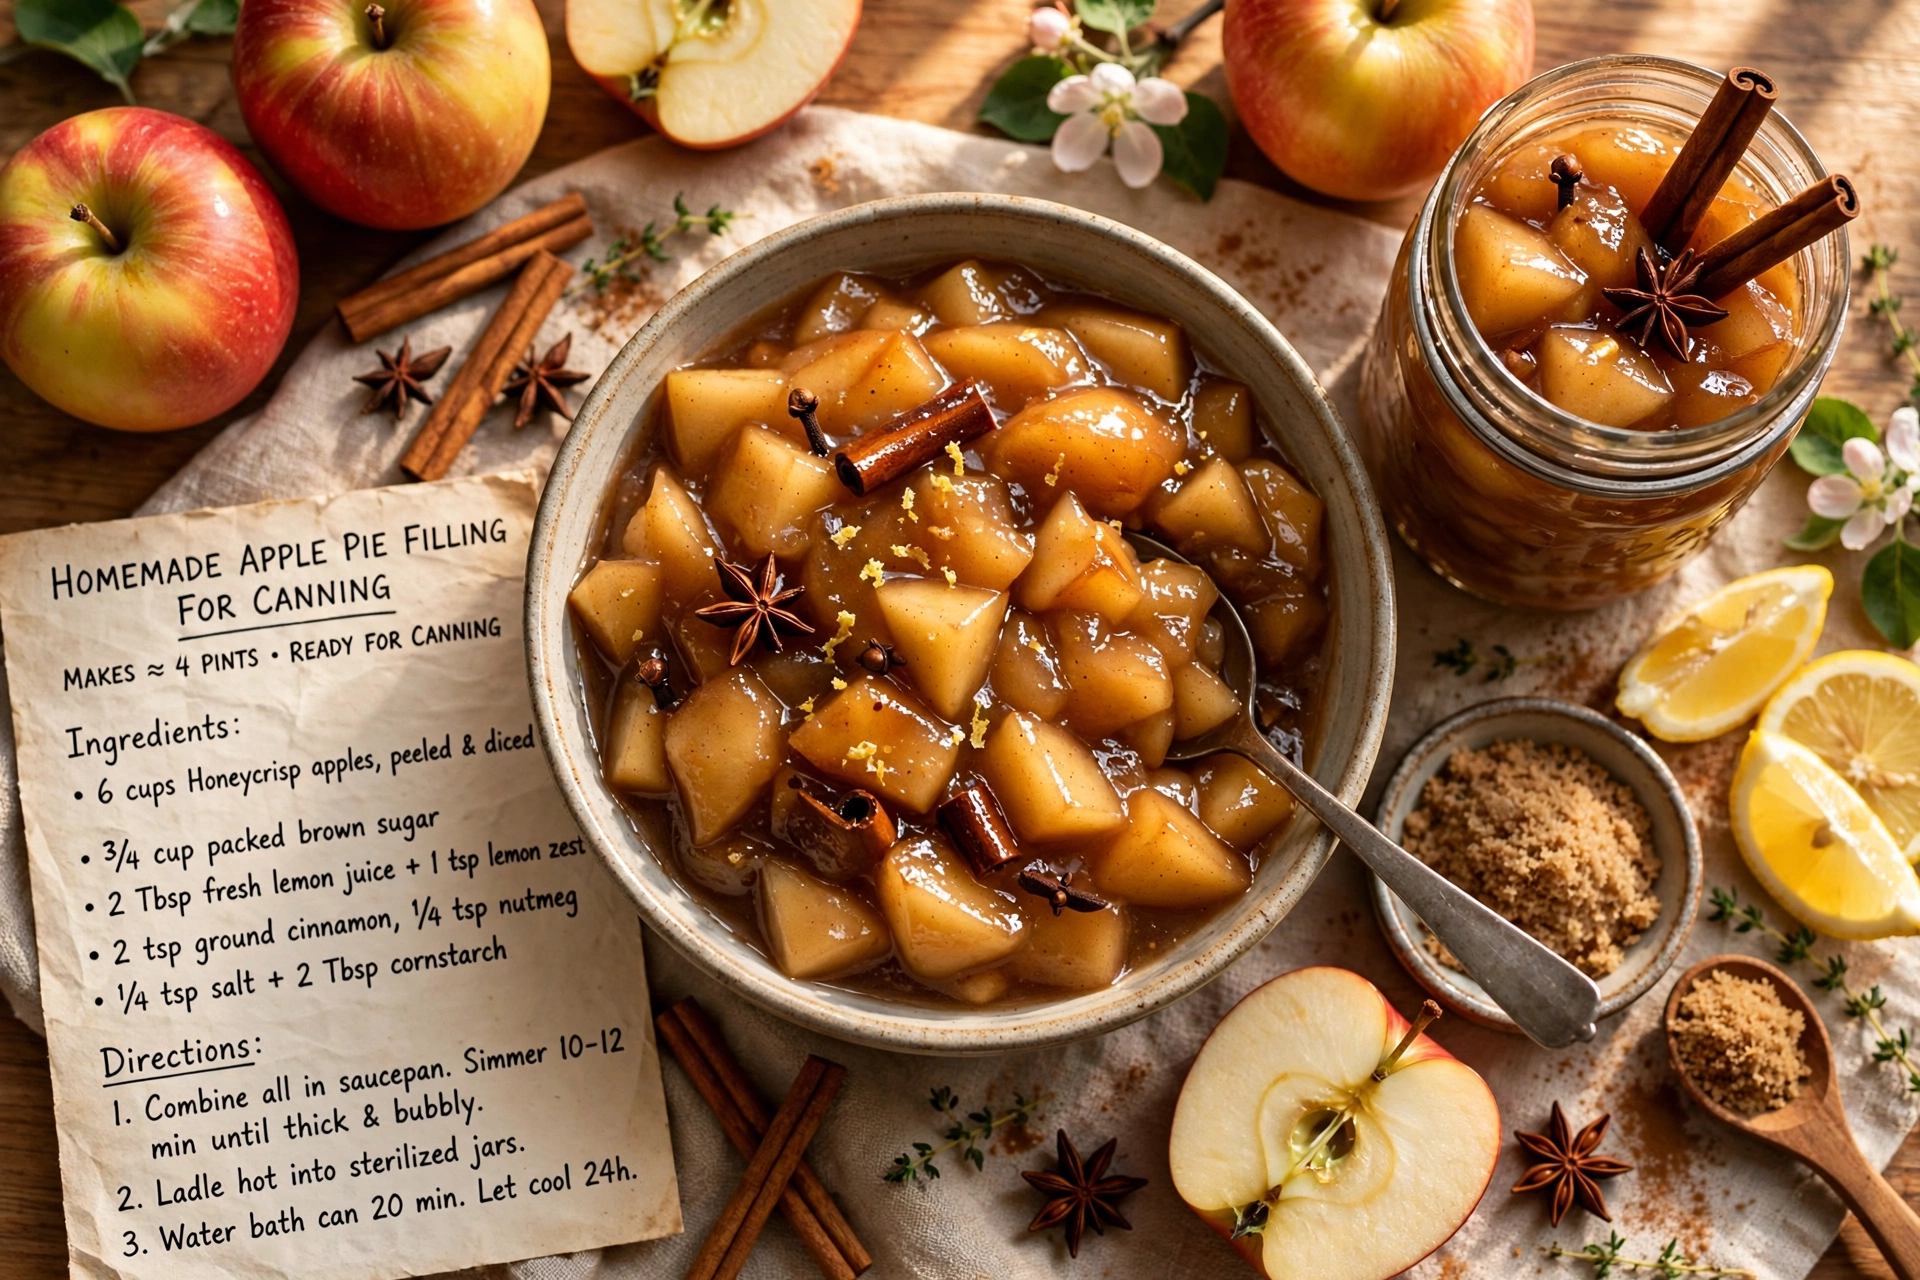
Apple pie spice is what gives this pie its cozy, unmistakable flavor. If you love recipes with apple pie spice, you will notice how just two teaspoons transforms plain sliced apples into something that tastes like autumn in every bite. The cornstarch and lemon juice work together here too, thickening the juices while keeping the apples bright and fresh tasting rather than dull or mushy.
Once your apples are tossed with sugar, spice, and cornstarch, resist the urge to add the liquid that pools at the bottom of the bowl into your pie. Leaving it behind is the simplest trick for avoiding a soggy bottom crust.
Ready to make it? Here is the full step-by-step recipe:
Rustic Skillet Apple Pie
This rustic skillet apple pie bakes up bubbling and golden in a cast iron pan, with a flaky homemade crust and warm apple pie spice in every bite.
Ingredients
- 2 1/2 cups all-purpose flour, plus extra for rolling
- 1 tbsp granulated sugar, for the crust
- 1 tsp salt, divided
- 1 cup unsalted butter, cold, cubed, divided between crust and filling
- 1/2 cup ice water, plus more as needed
- 8 apples, peeled, cored, and sliced, a mix of Granny Smith and Honeycrisp
- 3/4 cup brown sugar, packed
- 1/4 cup granulated sugar, for the filling
- 2 tsp apple pie spice, or a mix of cinnamon, nutmeg, and allspice
- 1 tbsp lemon juice, freshly squeezed
- 2 tbsp cornstarch, to thicken the filling
- 1 egg, beaten, for egg wash
- 1 tbsp coarse sugar, for sprinkling on top, optional
Instruction
In a large bowl, whisk together the flour, 1 tablespoon sugar, and 1/2 teaspoon salt. Cut in 3/4 cup of the cold, cubed butter with a pastry cutter or your fingers until the mixture resembles coarse crumbs.
Drizzle in the ice water, one tablespoon at a time, mixing gently until the dough just comes together. Divide into two discs, wrap in plastic, and chill for at least 1 hour.
Meanwhile, toss the sliced apples with brown sugar, granulated sugar, apple pie spice, lemon juice, cornstarch, and remaining 1/2 teaspoon salt in a large bowl. Let sit for 15 minutes to release their juices.
Preheat the oven to 400 degrees F (200 degrees C).
Melt the remaining 1/4 cup butter in a 10 inch cast iron skillet over medium heat. Swirl to coat the bottom and sides, then remove from heat.
Roll out one dough disc on a floured surface into a circle large enough to line the skillet, with some overhang. Press it into the skillet over the melted butter.
Pour the apple filling into the crust, mounding it slightly in the center, and discard any excess liquid left in the bowl.
Roll out the second dough disc and place it over the apples, or cut it into strips for a lattice top. Trim and crimp the edges to seal.
Brush the top crust with beaten egg and sprinkle with coarse sugar. Cut a few slits in the top to let steam escape if using a full crust.
Place the skillet on a baking sheet to catch drips and bake for 40 to 50 minutes, until the crust is deep golden brown and the filling is bubbling.
Let the pie cool in the skillet for at least 20 minutes before slicing, so the filling has time to set.
Equipment
- 10-inch cast iron skillet
- Rolling pin
- Pastry cutter
- Large mixing bowls
- Baking sheet
- Pastry brush
Notes
Serving and Storing Your Skillet Apple Pie
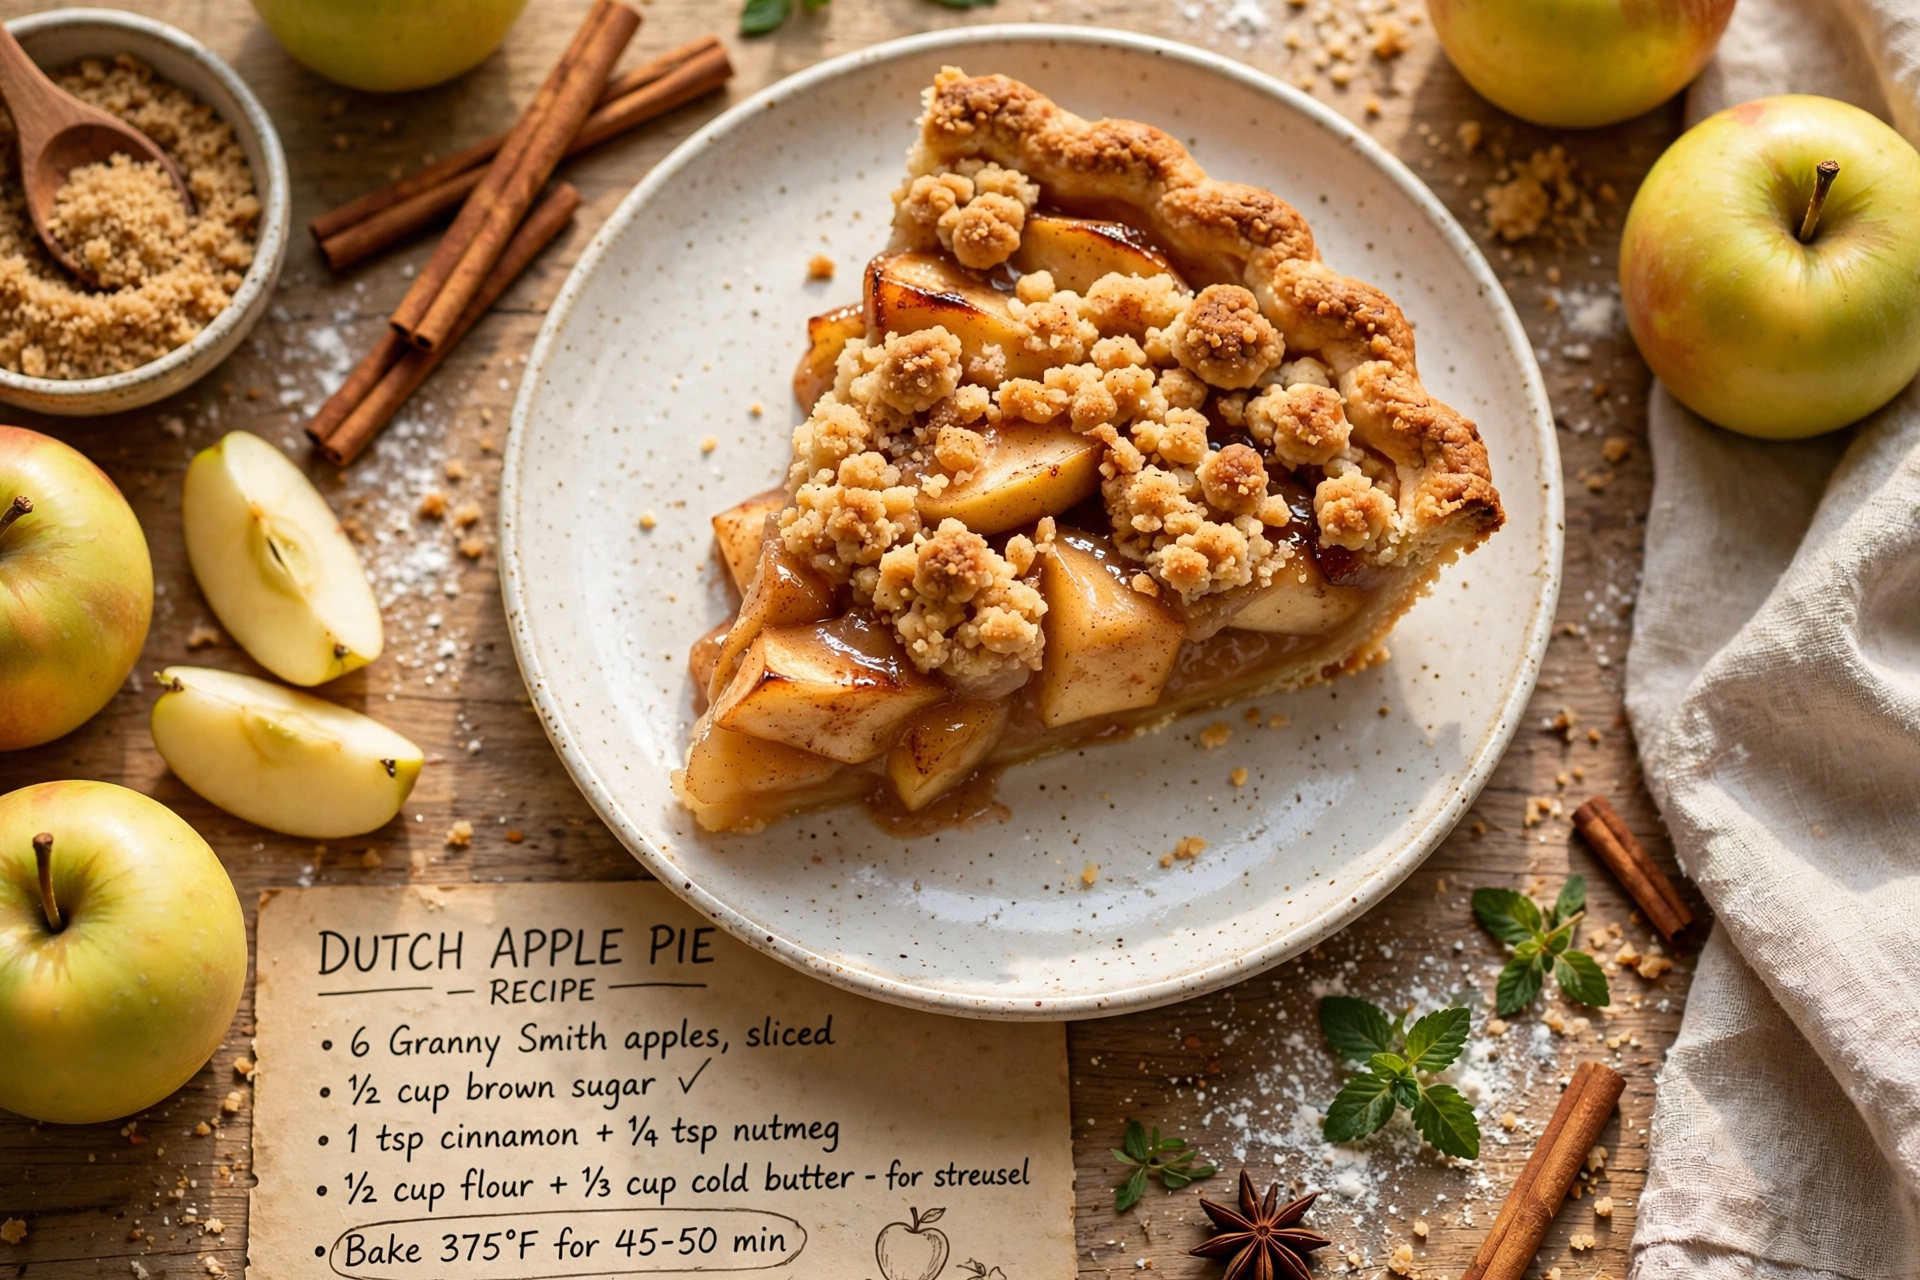
This apple pie skillet recipe is best served warm, straight from the pan, with a scoop of vanilla ice cream melting into the crust. It also makes a stunning centerpiece for a holiday table since you can bring the whole skillet right to the table for serving.
Let the pie rest for at least 20 minutes after baking. This gives the cornstarch time to fully set the filling, so your slices hold together instead of spilling apples everywhere. Leftovers store well covered at room temperature for a couple of days, or in the fridge for up to five, and a quick reheat in the oven brings the crust right back to life.
A Few Variations to Try
- Swap in pears for half the apples for a subtle, floral twist.
- Add a handful of dried cranberries or chopped pecans to the filling for extra texture.
- Finish with a drizzle of caramel sauce right before serving for an extra indulgent touch.
However you serve it, this rustic skillet apple pie is proof that some of the best desserts come from the simplest, most well loved tools in your kitchen.