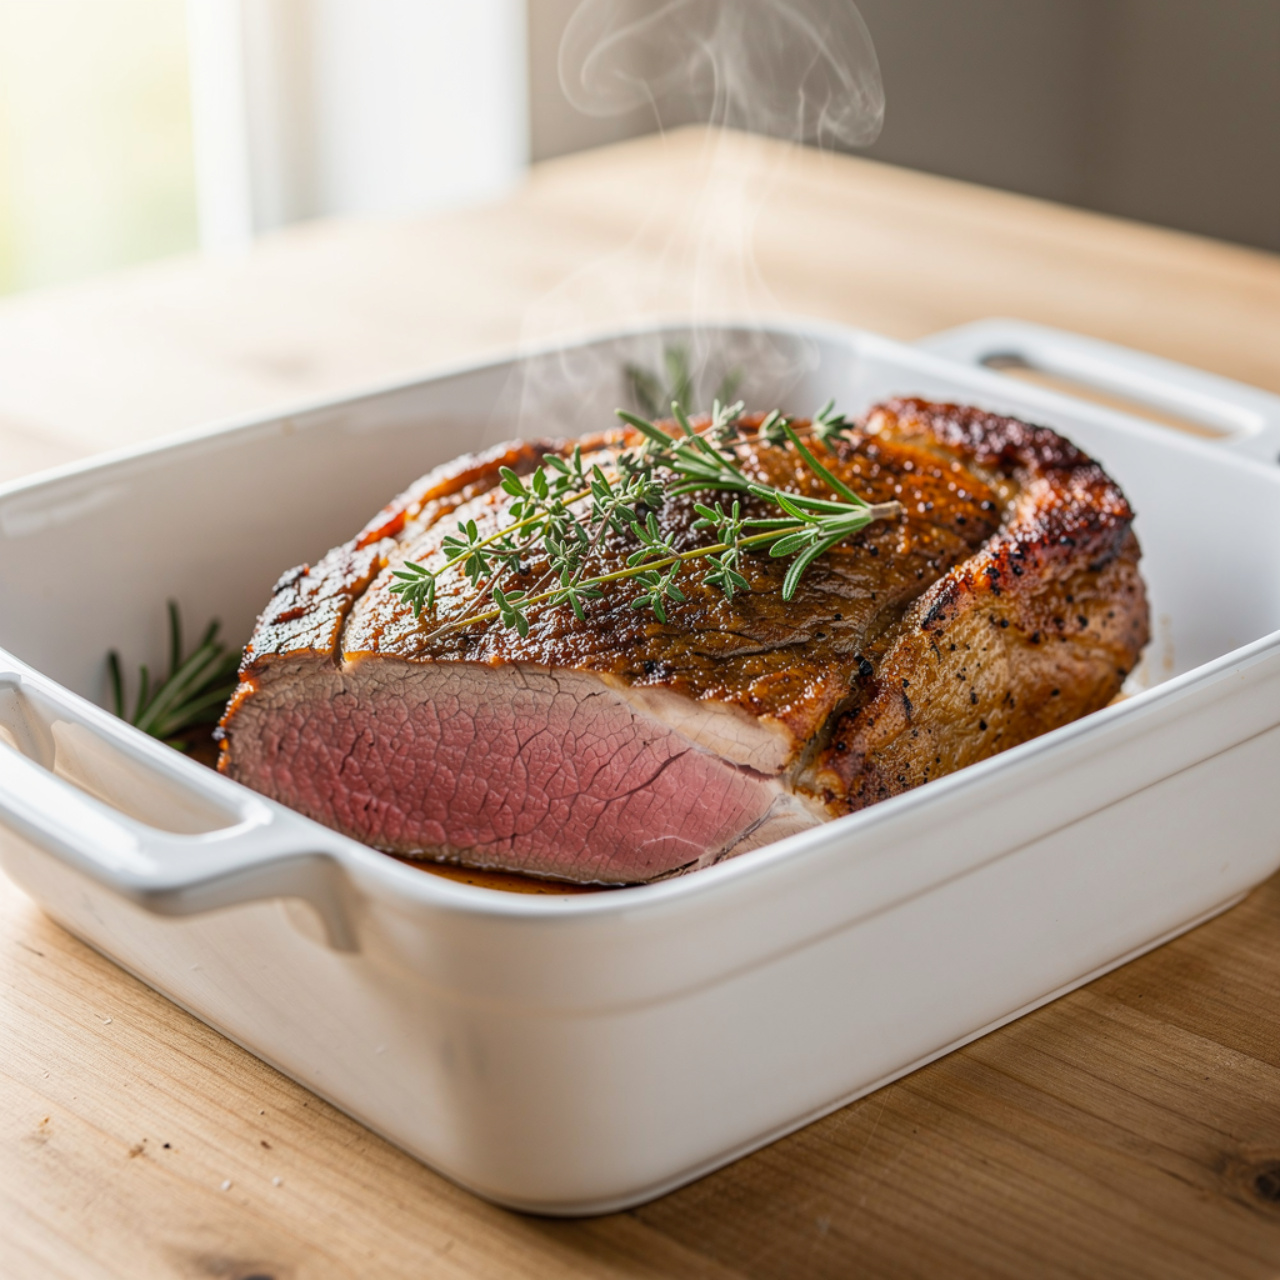
Fall-Apart Tender Beef Chuck Roast (Dutch Oven)
This beef chuck roast is slow-braised in a Dutch oven until impossibly tender, surrounded by hearty vegetables and a rich, savory gravy that makes the whole house smell incredible.

The Chuck Roast Recipe That Will Make You Forget Restaurants Exist
There is a particular kind of Sunday magic that happens when a beef chuck roast has been quietly braising in a Dutch oven for a few hours. The whole house fills with a deep, savory warmth that no candle or air freshener could ever replicate. It is the smell of collagen melting into silky richness, of wine and herbs doing exactly what they were born to do. This is not a recipe you rush. It is one you start in the early afternoon and then let time do most of the work.
If you have ever wondered why restaurant pot roast recipes always seem to taste a little better than the ones you make at home, the answer is almost always the same: a proper sear, a proper braise, and patience. This recipe gives you all three, and it delivers beef so tender it collapses at the suggestion of a fork, surrounded by vegetables that have absorbed every bit of that savory braising liquid.
Before we get into the technique, it is worth mentioning that a good Dutch oven is genuinely the cornerstone of this recipe. A heavy, tight-fitting lid traps steam and creates the low, even heat that turns a tough cut into something extraordinary. I also strongly recommend using a quality low-sodium beef broth, since the liquid reduces considerably during the long braise and a salty broth can quickly become overwhelming.
Why Beef Chuck Is the Best Cut for Pot Roast
When you are browsing chuck roast recipes, you will notice that nearly all of them call specifically for the chuck. There is a very good reason for that. Beef chuck comes from the shoulder area of the cow, which means it is a hardworking muscle packed with connective tissue and intramuscular fat. In quick-cooking methods, this makes it tough and chewy. But low and slow? That connective tissue breaks down into gelatin, the fat renders and bastes the meat from within, and the result is a roast that is almost impossibly juicy and rich.
A lean cut like eye of round would dry out completely under the same conditions. The fat and collagen in beef chuck are not flaws to work around. They are the whole point.
Chef's Tip: Always buy a chuck roast that is at least 3 inches thick. Thinner cuts braise faster but also dry out more easily. Thickness is your insurance policy against a stringy, overcooked roast.
The Sear: Do Not Skip This Step
If you have ever read through easy beef recipes and noticed the instruction to sear the meat before braising, and then skipped it because it seemed like extra work, you are not alone. But please, do not skip it here.
Searing the chuck roast over high heat for 4 to 5 minutes per side creates a deep brown crust through a process called the Maillard reaction. This is not about sealing in juices, which is a cooking myth. It is about creating hundreds of new flavor compounds that dissolve into the braising liquid and make the whole pot taste dramatically more complex. That fond, the browned bits stuck to the bottom of the Dutch oven after searing, is liquid gold once you deglaze with red wine.
Let the roast sit undisturbed in the hot pot. Resist the urge to nudge it. When it is properly seared, it will release from the pan on its own.
Building the Braising Liquid
Good Dutch oven recipes live and die by their braising liquid, and this one is built in layers. Softened aromatics come first, then tomato paste cooked until it darkens and sweetens, then a splash of dry red wine that picks up every last bit of flavor from the bottom of the pot. The Worcestershire sauce adds a savory depth that quietly makes everything taste more like itself.
The liquid should reach about halfway up the sides of the roast, not cover it. The top half of the meat steams gently while the bottom half simmers. Both halves benefit. If you submerge the roast completely, you end up with boiled beef rather than a proper braise.
A note on the potatoes: Add them partway through cooking rather than at the beginning. Potatoes braised for the full 3-plus hours turn into mush. Added during the final hour, they absorb the braising liquid beautifully while holding their shape.
Ready to make this showstopper of a dinner recipe for yourself? Here is everything you need:
Fall-Apart Tender Beef Chuck Roast (Dutch Oven)
This beef chuck roast is slow-braised in a Dutch oven until impossibly tender, surrounded by hearty vegetables and a rich, savory gravy that makes the whole house smell incredible.
Ingredients
- 3 lb beef chuck roast, bone-in or boneless, about 3 inches thick
- 2 tsp kosher salt, plus more to taste
- 1 tsp black pepper, freshly cracked
- 2 tbsp olive oil, or neutral oil with a high smoke point
- 1 yellow onion, large, roughly chopped
- 3 carrots, peeled and cut into 2-inch chunks
- 3 celery stalks, cut into 2-inch pieces
- 5 garlic cloves, smashed and peeled
- 2 tbsp tomato paste
- 1/2 cup dry red wine, such as Cabernet Sauvignon or Merlot; sub with extra beef broth if preferred
- 2 cups beef broth, low sodium
- 1 tbsp Worcestershire sauce
- 4 fresh thyme sprigs, or 1 tsp dried thyme
- 2 fresh rosemary sprigs, or 0.5 tsp dried rosemary
- 2 bay leaves
- 1 lb baby potatoes, halved; Yukon Gold or red potatoes work great
Instruction
Preheat your oven to 325 degrees F (165 degrees C). Pat the chuck roast completely dry with paper towels and season generously on all sides with salt and pepper.
Heat the olive oil in a large Dutch oven over medium-high heat until shimmering. Sear the roast for 4 to 5 minutes per side without moving it, until a deep brown crust forms on all sides. Transfer the seared roast to a plate and set aside.
Reduce the heat to medium. Add the chopped onion, carrots, and celery to the same pot. Cook, stirring occasionally, for 5 minutes until softened and picking up the brown bits from the bottom of the pot.
Add the smashed garlic and tomato paste. Stir and cook for 1 to 2 minutes until the tomato paste darkens slightly and becomes fragrant.
Pour in the red wine to deglaze the pot, scraping up all the browned bits from the bottom with a wooden spoon. Let it simmer for 2 minutes.
Add the beef broth, Worcestershire sauce, thyme, rosemary, and bay leaves. Stir to combine. Nestle the seared chuck roast back into the pot, along with any resting juices from the plate. The liquid should come about halfway up the sides of the roast.
Bring the liquid to a gentle simmer, then cover the Dutch oven with its lid and transfer to the preheated oven. Braise for 2 hours.
After 2 hours, carefully remove the lid and add the baby potatoes around the roast. Replace the lid and continue braising for another 1 to 1.5 hours, or until the beef is fork-tender and shreds easily.
Remove the Dutch oven from the oven. Discard the bay leaves, thyme, and rosemary sprigs. Taste the braising liquid and adjust seasoning with salt and pepper as needed.
Transfer the roast to a cutting board and let it rest for 10 minutes before shredding or slicing. Serve over the vegetables with a generous ladle of the pan juices as gravy.
Equipment
- Large Dutch oven (at least 6 quarts)
- Paper towels
- Wooden spoon or silicone spatula
- Cutting board
- Sharp chef's knife
- Tongs
- Ladle
Notes
Serving and Storing Your Chuck Roast
Once the roast is out of the oven and has rested for 10 minutes, you have a choice. You can slice it into thick, rustic pieces for a more formal presentation, or shred it directly in the pot with two forks for a more casual, hearty style. Both are delicious. The shredded version is particularly good piled onto mashed potatoes with the braising liquid ladled generously over the top.
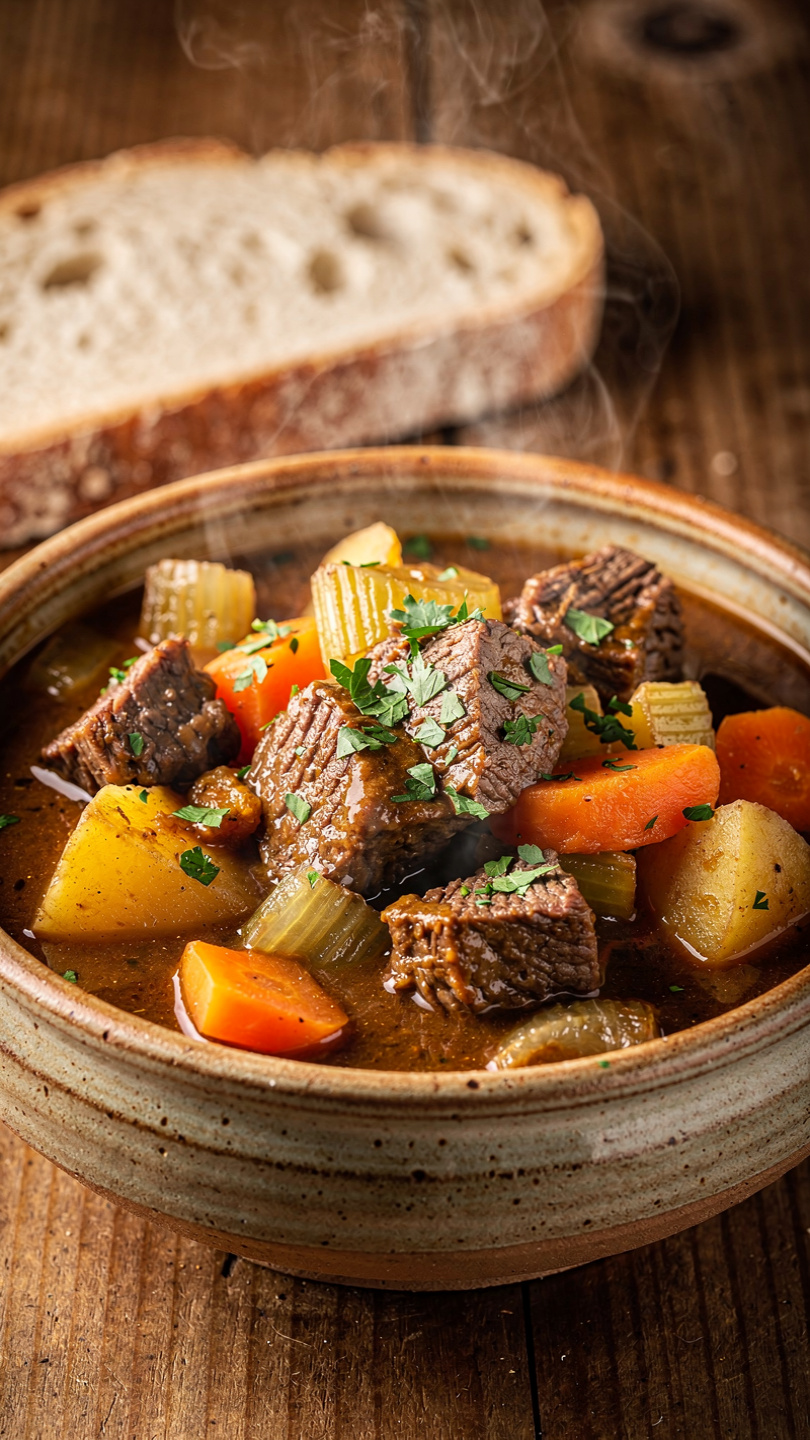
For sides, simple is always better here. Crusty bread for soaking up gravy, a crisp green salad, or roasted green beans keep the focus on the star of the table.
Storing leftovers: Keep the shredded beef in an airtight container with a few spoonfuls of the braising liquid poured over it. This keeps the meat from drying out in the refrigerator, where it will stay fresh for up to 4 days. Leftovers also freeze exceptionally well for up to 3 months.
One final note: if you make this on a Sunday and have some left on Monday, try it reheated and piled onto a toasted roll with a spoonful of the thickened pan juices. One of the best sandwiches you will ever have, no question.