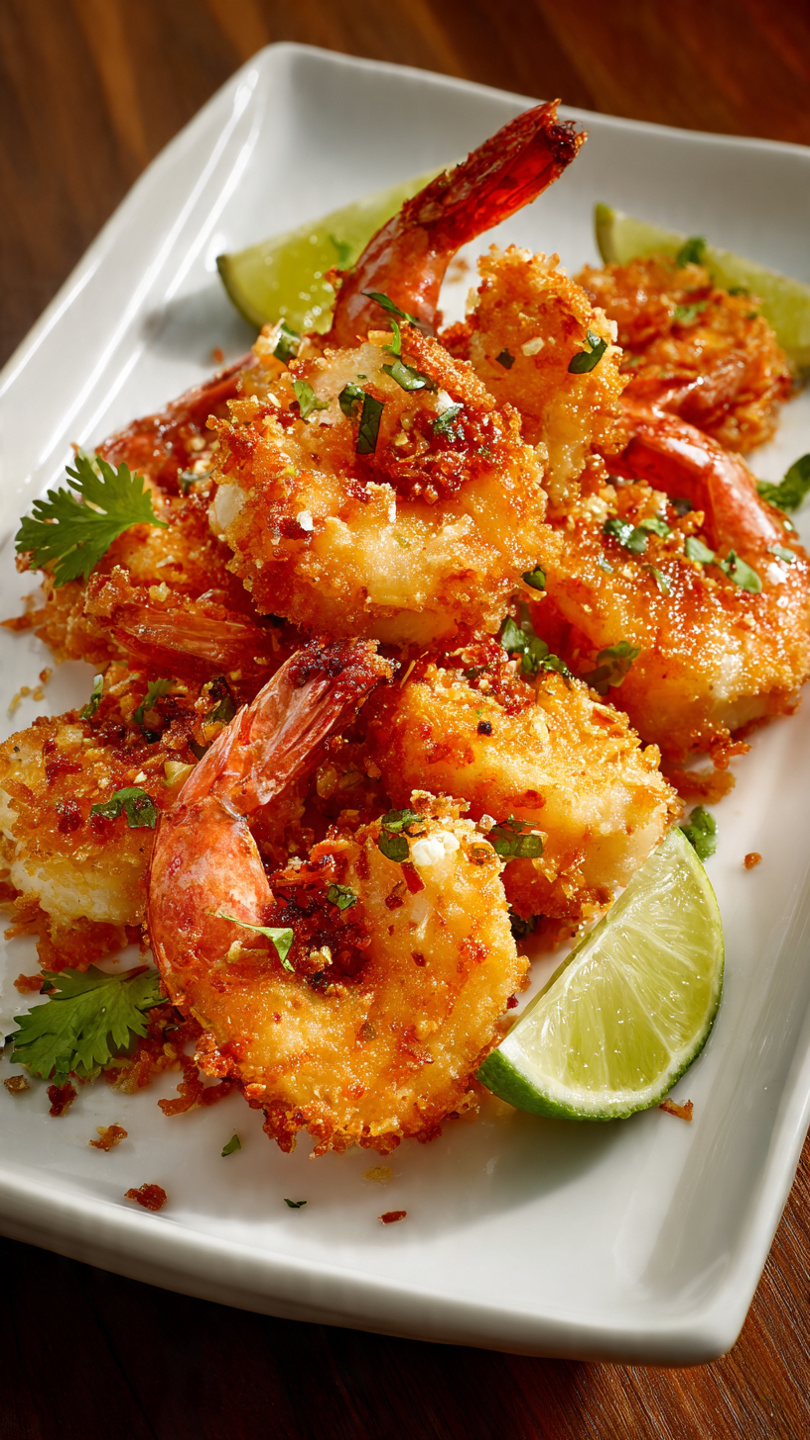
Crispy Coconut Shrimp (Keto, Healthy, and Irresistibly Crunchy)
This Crispy Coconut Shrimp recipe delivers a golden, crunchy coating with tender shrimp inside, and it works for keto, gluten-free, and healthy fried shrimp lovers alike. Ready in under 30 minutes with almond flour and shredded coconut for a lighter, better-than-restaurant result.

The Crispiest Coconut Shrimp You Will Ever Make at Home
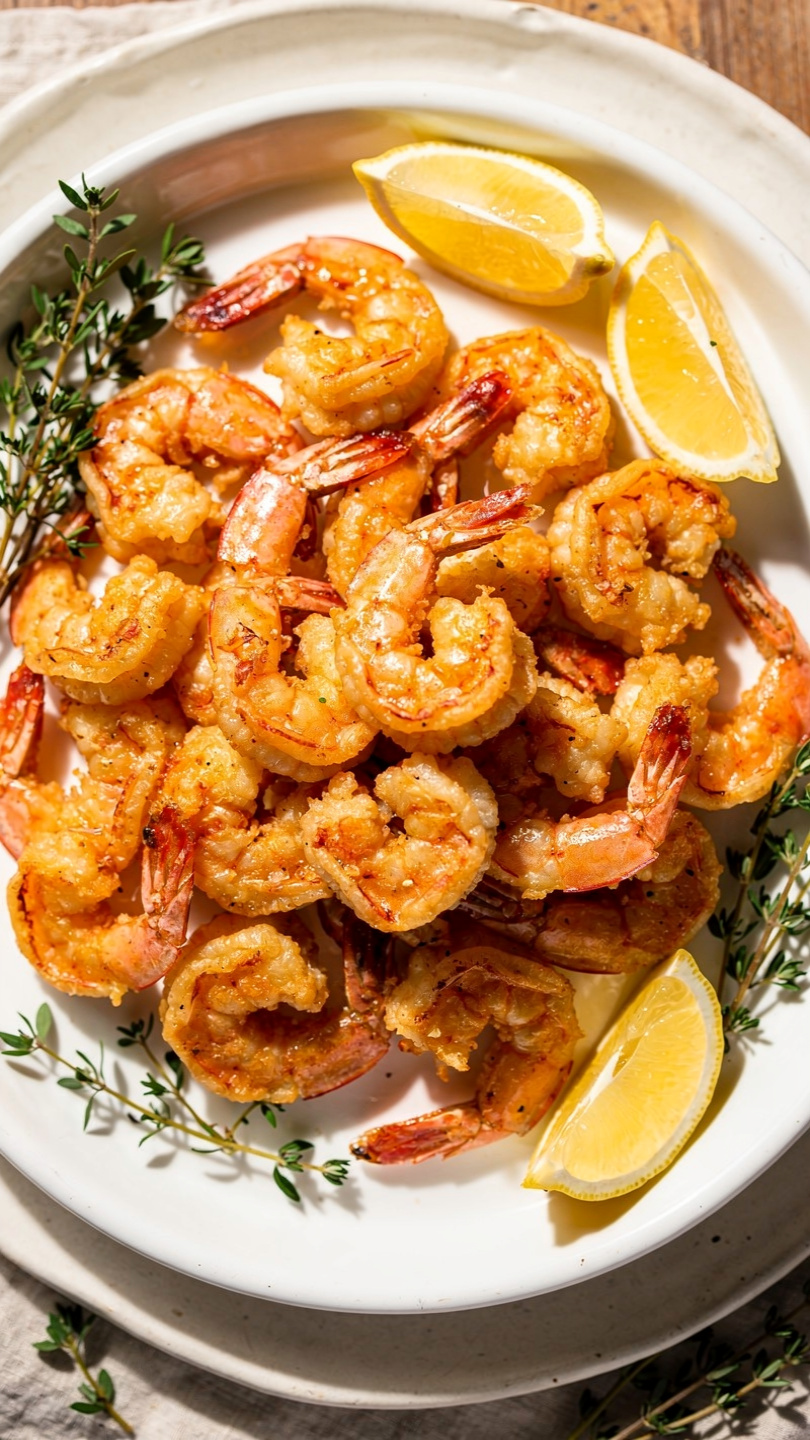
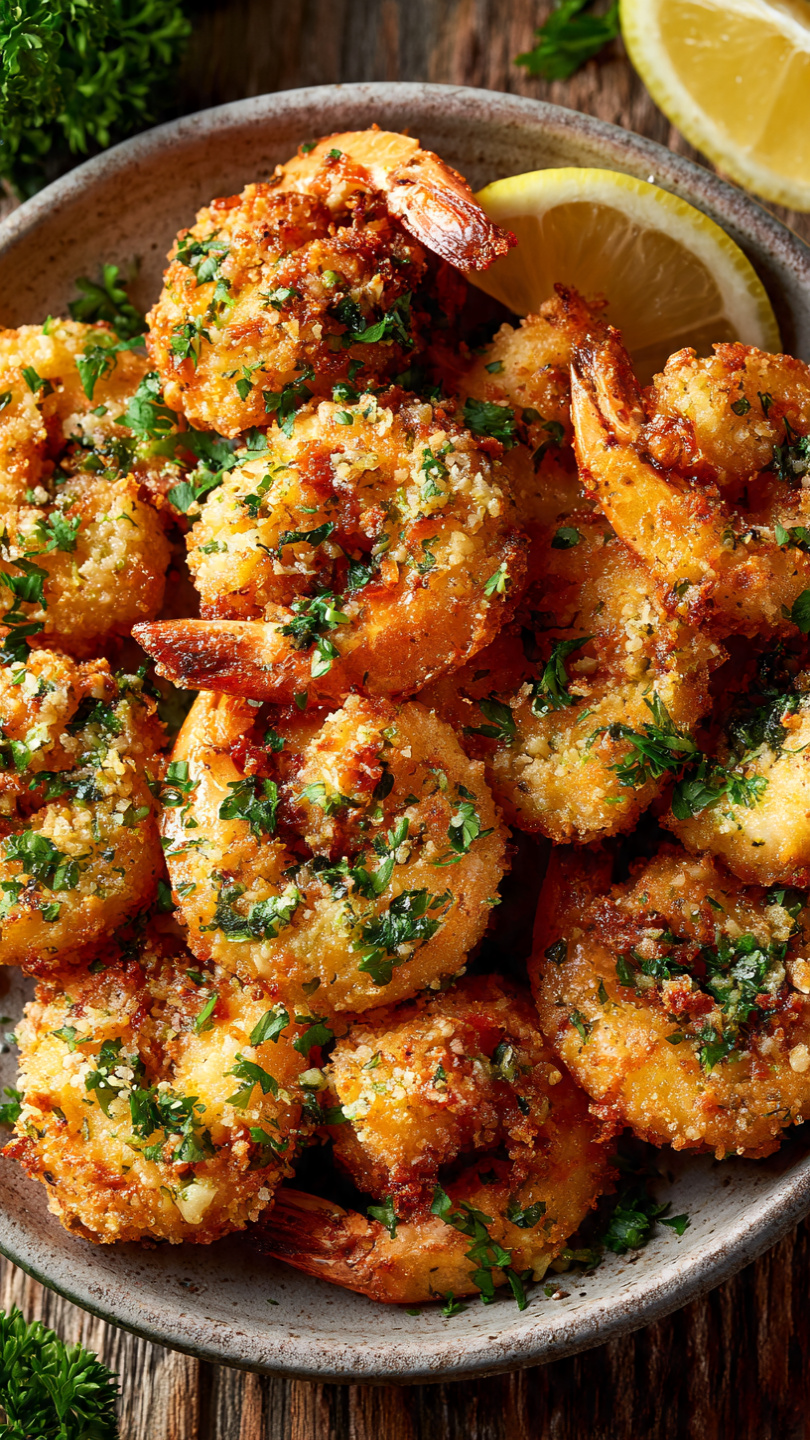
If you have ever ordered coconut shrimp at a restaurant and wondered why yours never quite measures up, this recipe is about to change everything. We are talking shatteringly crispy, golden-brown shrimp with a sweet coconut crust that snaps when you bite it, tender and juicy on the inside, and done in under 30 minutes from start to finish.
The best part? This version is actually good for you. By swapping traditional breadcrumbs for a combination of almond flour and unsweetened shredded coconut, we have created a crispy fried shrimp meal that works beautifully for keto, gluten-free, and anyone simply looking for healthy fried shrimp recipes that do not taste like a compromise.
Why This Recipe Works (And Why Most Coconut Shrimp Fails)
Most coconut shrimp recipes fall flat for one of three reasons: the coating falls off, the shrimp turns rubbery, or the coconut burns before the shrimp cooks through. We have tested this recipe extensively to solve all three problems.
The secret is a three-step dredging process using coconut flour as the base layer. Coconut flour is remarkably absorbent, which means it grabs onto the shrimp and gives the egg wash something real to cling to. The almond flour and shredded coconut outer layer then bonds to the egg and stays put through cooking. No soggy, sliding coating here.
Patting the shrimp completely dry before you start is equally important. Moisture is the enemy of crispiness. Take an extra 60 seconds with paper towels and your results will be noticeably better.
Chef's Tip: Use shrimp that are at least 21/25 count (that means 21 to 25 shrimp per pound). Smaller shrimp cook too fast and can overcook before the coating reaches its full golden color.
Keto Coconut Shrimp: A Legit Low-Carb Win
For anyone following a ketogenic or low-carb diet, this recipe is genuinely exciting. Traditional coconut shrimp is loaded with refined flour and sweetened coconut, pushing the carb count into territory that simply does not work for keto. This version flips the script entirely.
Here is what makes it keto-friendly:
- Almond flour replaces all-purpose flour for a nutty, low-carb base
- Coconut flour provides the dredging layer without the carbs of wheat flour
- Unsweetened shredded coconut delivers all the flavor and crunch without added sugar
- Avocado or coconut oil keeps the fat profile clean and the smoke point high
At roughly 8 grams of net carbohydrates per serving, this sits comfortably within most keto macros, especially as an appetizer or paired with a simple green salad.
The right tools and ingredients genuinely elevate this recipe. A good heavy skillet, quality almond flour, and unsweetened coconut make a visible difference in the final result.
Three Ways to Cook It
One of the things we love most about this recipe is its flexibility. You can cook these shrimp three different ways depending on what equipment you have and how much oil you want to use.
Pan Frying
This is the most classic method and gives you the deepest golden color. A couple of tablespoons of avocado or coconut oil in a hot skillet and about 2 to 3 minutes per side is all it takes. Work in batches and resist the urge to crowd the pan.
Air Fryer
The air fryer method is arguably the most convenient. A light spray of oil, 8 to 10 minutes at 400 degrees, and you get results that are almost indistinguishable from pan frying. It is the go-to method for weeknight cooking.
Baking
Baking takes a little longer (about 12 to 14 minutes at 425 degrees on a wire rack), but it is completely hands-off and works well if you are making a large batch for a crowd. Use a wire rack over a baking sheet so hot air circulates under the shrimp and crisps the bottom.
Warning: Whichever method you choose, do not skip the wire rack or paper towel resting step at the end. Resting on a flat surface traps steam underneath and softens the crust.
What to Serve with Coconut Shrimp
These shrimp are incredibly versatile. Here are some of our favorite ways to serve them:
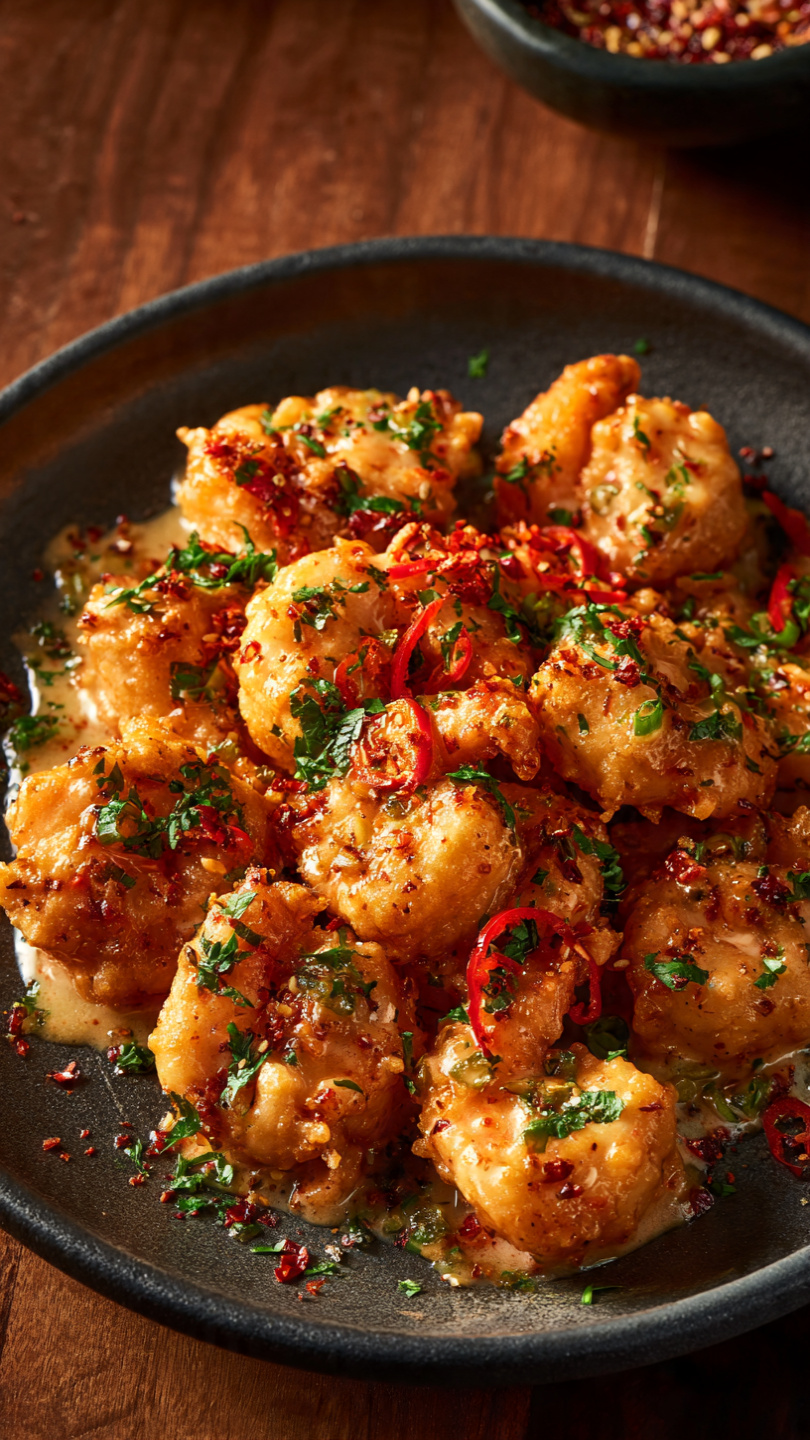
- Keto dipping sauce: Mix equal parts mayo and sriracha with a squeeze of lime for a creamy, spicy dip
- Sugar-free sweet chili sauce for a classic pairing that stays low-carb
- Mango avocado salsa if you are not strictly keto and want a tropical vibe
- Simple arugula salad dressed with lime and olive oil for a light full meal
- Cauliflower rice for a complete crispy fried shrimp meal that stays grain-free
These also make a spectacular party appetizer. Double the batch, keep them warm in a low oven (200 degrees F), and watch them disappear.
Ready to make the best coconut shrimp of your life? Here is the full recipe:
Crispy Coconut Shrimp (Keto, Healthy, and Irresistibly Crunchy)
This Crispy Coconut Shrimp recipe delivers a golden, crunchy coating with tender shrimp inside, and it works for keto, gluten-free, and healthy fried shrimp lovers alike. Ready in under 30 minutes with almond flour and shredded coconut for a lighter, better-than-restaurant result.
Ingredients
- 1 lb large shrimp, peeled, deveined, tails on
- 1/2 cup almond flour, blanched, finely ground
- 1 cup unsweetened shredded coconut, fine or medium shred
- 1/4 cup coconut flour, for dredging
- 2 large eggs, beaten
- 1/2 tsp garlic powder
- 1/2 tsp smoked paprika
- 3/4 tsp salt, divided
- 1/4 tsp black pepper, freshly ground
- 2 tbsp avocado oil or coconut oil, for pan frying, or spray for air fryer
- 1 fresh lime, cut into wedges for serving
Instruction
Pat the shrimp completely dry with paper towels. This step is non-negotiable for a crispy crust. Season lightly with salt and pepper.
Set up your dredging station with three shallow bowls: coconut flour seasoned with garlic powder, smoked paprika, salt, and pepper in the first; beaten eggs in the second; and the combined almond flour and shredded coconut in the third.
Working one shrimp at a time, dredge it in the coconut flour, shake off the excess, dip it in the beaten egg, then press it firmly into the almond flour and coconut mixture. Make sure the coating fully adheres on all sides.
For pan frying: Heat avocado or coconut oil in a large skillet over medium-high heat until shimmering. Cook the shrimp in a single layer for 2 to 3 minutes per side, until deep golden and cooked through. Work in batches to avoid crowding the pan.
For air frying: Arrange coated shrimp in a single layer in your air fryer basket. Spray lightly with oil. Air fry at 400 degrees F (200 degrees C) for 8 to 10 minutes, flipping halfway through, until golden and crispy.
For baking: Place shrimp on a wire rack set over a baking sheet. Spray generously with oil. Bake at 425 degrees F (220 degrees C) for 12 to 14 minutes, flipping once halfway, until the coating is golden and crisp.
Transfer the cooked shrimp to a paper towel-lined plate. Serve immediately with lime wedges and your favorite dipping sauce.
Equipment
- 3 shallow bowls for dredging
- Large skillet or air fryer or baking sheet
- Wire rack (for baking method)
- Paper towels
- Tongs
- Instant-read thermometer (optional)
Notes
Storage and Make-Ahead Tips
Leftovers keep well in the refrigerator for up to 2 days in an airtight container. To reheat, skip the microwave entirely. A few minutes in an air fryer at 375 degrees or a hot oven brings the crust right back to life.
If you want to get ahead, you can bread the shrimp up to 4 hours in advance and refrigerate them uncovered on a wire rack. Cook them straight from the fridge when you are ready. The coating actually adheres even better after a short rest.
This is one of those recipes that looks far more impressive than the effort it requires, which makes it a permanent fixture in our weeknight rotation and our dinner party repertoire alike.