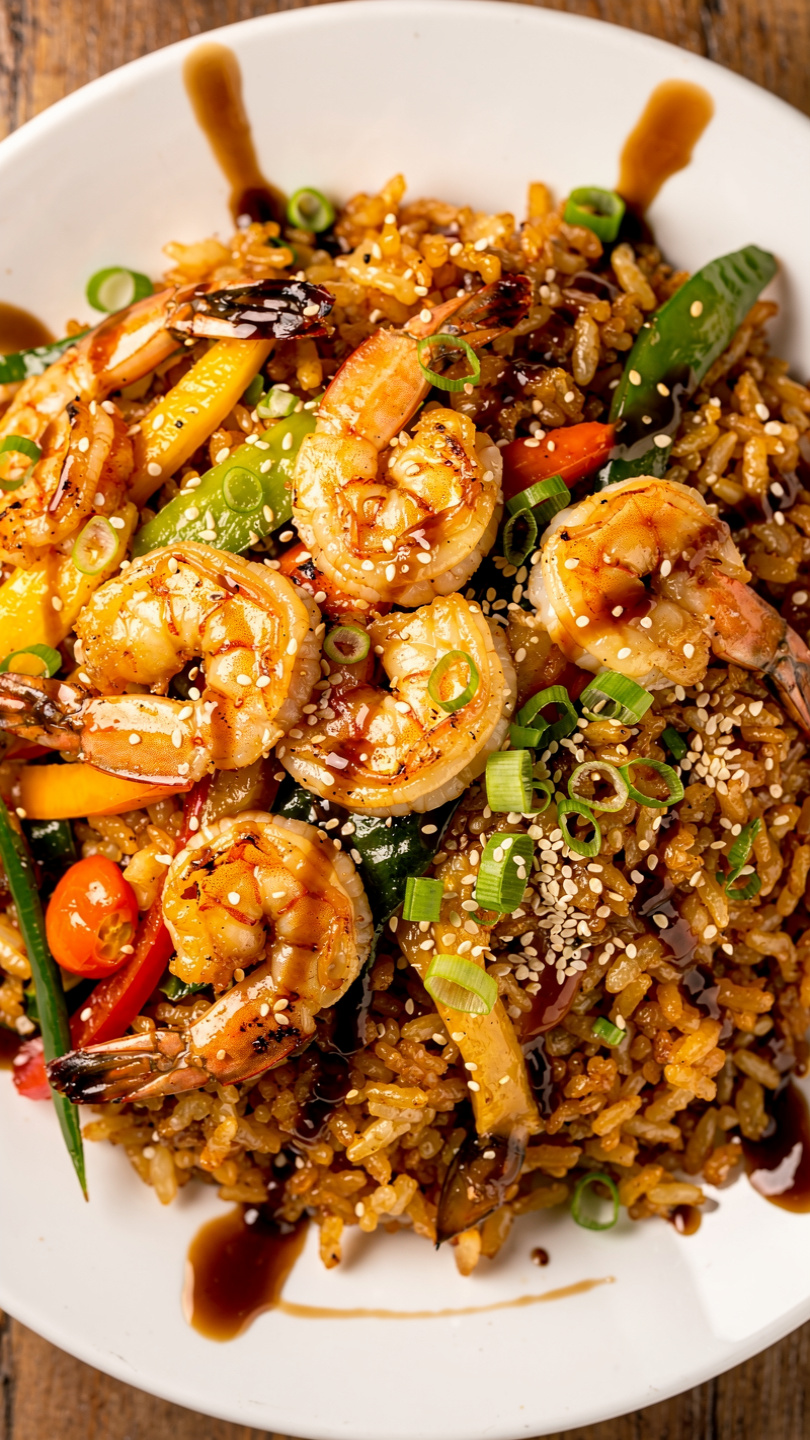
Hibachi Shrimp Rice Bowl
This Hibachi Shrimp Rice Bowl brings the sizzling flavors of your favorite Japanese steakhouse straight to your kitchen in under 30 minutes. Juicy garlic butter shrimp, savory fried rice, and a drizzle of yum yum sauce make this an easy weeknight dinner the whole family will love.

The Hibachi Shrimp Rice Bowl You Have Been Craving at Home
There is something almost magical about watching a hibachi chef work a scorching flat-top grill, flames leaping, spatulas clanging, and the entire room filling with that irresistible garlic butter aroma. The good news is that you do not need a reservation or a teppanyaki table to get that experience. This Hibachi Shrimp Rice Bowl delivers every bit of that steakhouse flavor in about 30 minutes, right from your own stovetop.
Juicy, garlicky shrimp seared in butter and lemon. Savory, slightly crispy hibachi fried rice packed with scrambled egg, peas, and caramelized onion. A generous drizzle of creamy yum yum sauce over the top. This is the kind of easy hibachi shrimp recipe that becomes a regular in your weeknight rotation the very first time you make it.
Why This Hibachi Shrimp Bowl Works So Well
The secret to nailing a hibachi meal with shrimp at home comes down to two things: high heat and dry rice. Restaurant hibachi chefs cook on flat-top griddles that reach extreme temperatures, which is what gives everything that beautiful sear and those slightly charred, smoky edges. A heavy wok or cast iron skillet on a burner cranked up as high as it will go gets you surprisingly close.
Day-old jasmine rice is equally non-negotiable. Fresh rice holds too much moisture and will steam and clump instead of frying up into those distinct, slightly chewy grains that make a hibachi rice bowl so satisfying. If you are planning to make this on a weeknight, cook your rice the night before and store it uncovered in the fridge. It takes all of two minutes of planning and makes an enormous difference.
Chef's Tip: Do not crowd the shrimp in the pan. Cook them in a single layer and resist the urge to move them right away. That first 60 to 90 seconds of undisturbed contact with a hot surface is what gives you that golden, slightly caramelized crust.
The Right Tools and Ingredients Make All the Difference
For a recipe like this hibachi shrimp and rice dish, having the right pan matters more than almost anything else. A well-seasoned carbon steel wok or a heavy cast iron skillet holds heat evenly and gets hot enough to genuinely sear rather than steam. The quality of your soy sauce and sesame oil also has a noticeable impact on the final flavor, so it is worth reaching for good bottles.
Building the Perfect Hibachi Fried Rice
The rice component of this hibachi shrimp fried rice is truly a meal on its own. Here is what makes it exceptional:
- Toasted sesame oil added at the end of cooking, not the beginning, preserves its deep, nutty fragrance.
- Scrambled egg folded directly into the rice gives you that classic hibachi texture in every bite.
- Letting the rice sit undisturbed for a full minute against a screaming hot pan develops the faint crispiness on the bottom that makes hibachi rice so addictive.
- A finishing knob of butter right before serving rounds out all the savory edges and makes everything taste like it came from a real teppanyaki kitchen.
The vegetables are simple on purpose. Frozen peas and carrots thaw almost instantly in the hot pan and add just enough color and sweetness without overpowering the shrimp. Feel free to add sliced mushrooms, diced zucchini, or bean sprouts if you want to stretch the bowl further.
Keeping It Light Without Losing the Flavor
One of the reasons this hibachi shrimp recipe resonates with so many home cooks is that it is genuinely a lower calorie hibachi shrimp option compared to restaurant versions. Hibachi meals at a teppanyaki restaurant are often finished with a very generous hand on the butter, which can easily push a single serving well past 700 calories. This version keeps the butter intentional and balanced, around 3 tablespoons shared across the entire dish, so you still get that signature richness without overdoing it.
Shrimp is also one of the leanest proteins you can cook with, packing roughly 20 grams of protein per 3-ounce serving with very little fat. That makes this hibachi shrimp and rice dish a genuinely satisfying meal that does not leave you feeling heavy afterward.
Make It Your Own: Swap the shrimp for chicken, steak, or tofu to turn this into a different hibachi meal entirely. The rice base and the sauce work beautifully with almost any protein you love.
Serving Suggestions
This bowl is completely satisfying on its own, but if you want to round out the meal the way a hibachi restaurant would, here are a few ideas:
- A small bowl of miso soup on the side
- A crisp Japanese cucumber salad with rice vinegar and sesame
- A plate of gyoza as a starter
- Extra yum yum sauce on the table, always
Ready to bring the hibachi experience home? Here is the complete recipe:
Hibachi Shrimp Rice Bowl
This Hibachi Shrimp Rice Bowl brings the sizzling flavors of your favorite Japanese steakhouse straight to your kitchen in under 30 minutes. Juicy garlic butter shrimp, savory fried rice, and a drizzle of yum yum sauce make this an easy weeknight dinner the whole family will love.
Ingredients
- 1 lb large shrimp, peeled and deveined, fresh or thawed from frozen, tails removed
- 3 cups cooked jasmine rice, day-old rice works best for frying
- 3 tbsp unsalted butter, divided
- 4 garlic cloves, minced
- 3 tbsp soy sauce, low sodium preferred
- 1 tbsp sesame oil, toasted
- 2 tbsp vegetable oil, divided
- 2 large eggs, lightly beaten
- 3/4 cup frozen peas and carrots, thawed
- 1/2 yellow onion, finely diced
- 1 tbsp lemon juice, freshly squeezed
- 1/4 cup yum yum sauce, store-bought or homemade, for serving
- 3 green onions, thinly sliced, for garnish
- 1 tsp sesame seeds, toasted, for garnish
- 1 tsp salt and black pepper, to taste
Instruction
Pat the shrimp completely dry with paper towels and season with salt and black pepper on both sides.
Heat a large wok or skillet over high heat until very hot. Add 1 tablespoon of vegetable oil and 1 tablespoon of butter.
Add the shrimp in a single layer and cook undisturbed for 1 to 2 minutes until pink on the bottom. Flip and cook another 1 minute. Add 2 cloves of minced garlic, toss to coat, and squeeze in the lemon juice. Transfer shrimp to a plate and set aside.
Return the wok to high heat and add the remaining vegetable oil. Add the diced onion and cook for 2 minutes, stirring frequently, until softened and lightly golden.
Push the onion to one side. Add the beaten eggs to the empty side and scramble them quickly until just set, about 30 seconds, then fold them into the onion.
Add the day-old rice to the wok. Break up any clumps and press it against the hot surface. Let it sit for 1 minute without stirring to develop light crispiness, then toss everything together.
Add the peas and carrots, soy sauce, remaining 2 tablespoons of butter, remaining garlic, and sesame oil. Toss continuously for 2 to 3 minutes over high heat until everything is well combined and fragrant.
Return the cooked shrimp to the wok and toss to combine, heating through for about 1 minute.
Divide the hibachi rice into four bowls and top with the shrimp. Drizzle generously with yum yum sauce, then garnish with sliced green onions and toasted sesame seeds. Serve immediately.
Equipment
- Large wok or 12-inch cast iron skillet
- Wooden spatula or wok spatula
- Tongs
- Paper towels
- Small mixing bowl
Notes
Storing and Reheating Your Hibachi Shrimp Rice Bowl
Leftovers store beautifully in an airtight container in the refrigerator for up to 3 days. When reheating, skip the microwave if you can and go back to a hot skillet instead. Add a small splash of water or soy sauce to the pan, add your rice and shrimp, and toss over medium-high heat for 2 to 3 minutes. The rice crisps back up, the shrimp warm through gently, and the whole thing tastes almost as good as the day you made it.
This seafood rice bowl with shrimp also freezes well for up to one month. Portion it into individual freezer-safe containers for grab-and-go lunches that feel anything but boring.