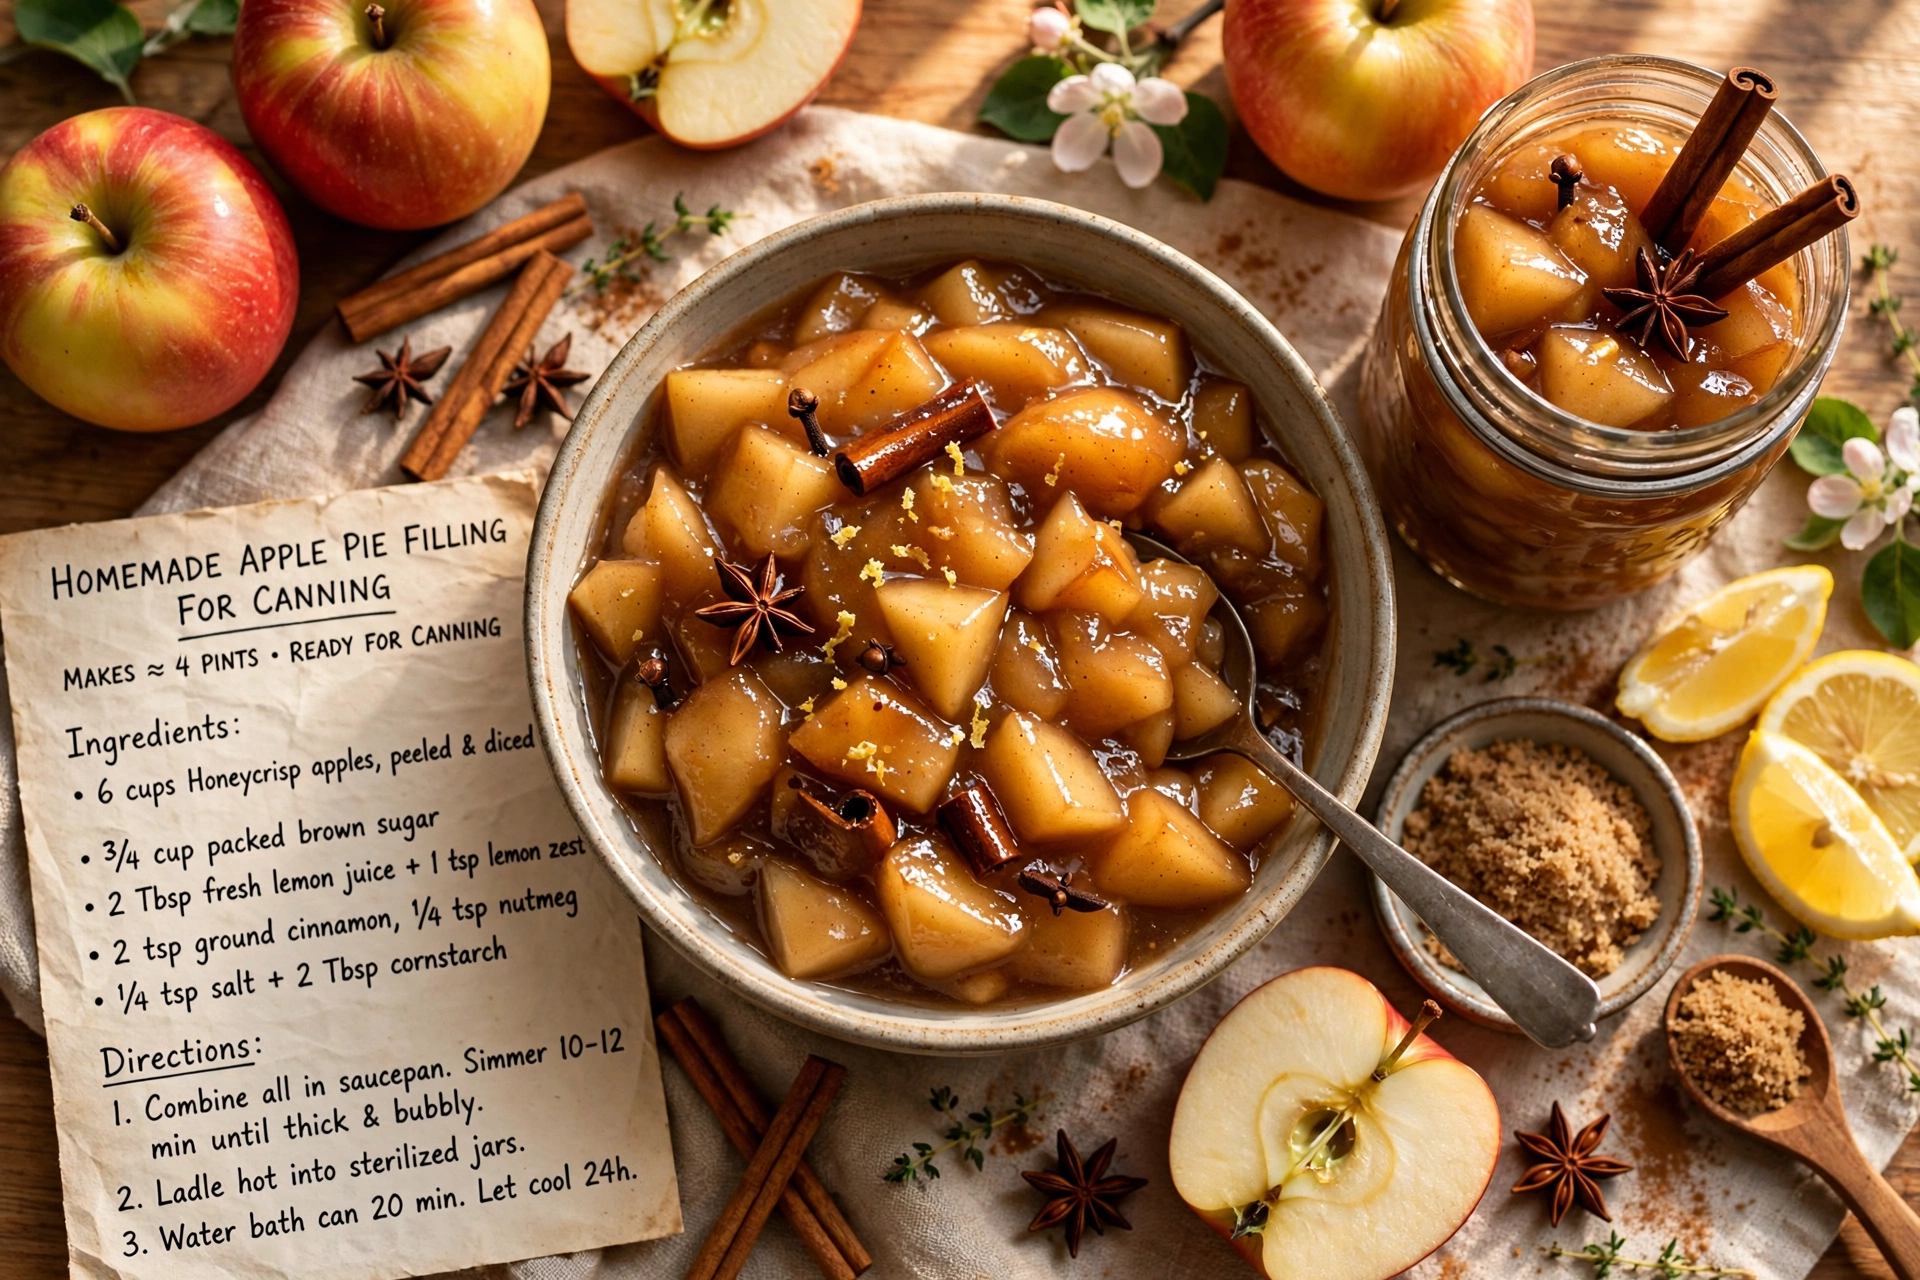
Homemade Apple Pie Filling for Canning
Learn how to make and can apple pie filling at home with this easy, small-batch recipe, perfect for stocking your pantry with ready-to-bake apple pie any time of year.

Why You Need Apple Pie Filling To Can In Your Pantry
There is nothing quite like opening your own pantry in the dead of winter and pulling out a jar of homemade apple pie filling that you canned yourself back in the fall. This recipe walks you through exactly how to can apple pie filling from scratch, using simple ingredients and a straightforward process that turns a big haul of fresh apples into months of ready-to-bake dessert. Whether you grew up canning apples for pie filling with your grandmother or you are canning for the very first time, this method is reliable, safe, and genuinely delicious.
Canning apple pie filling is one of those old-fashioned kitchen skills that feels a little bit like magic. You take a mountain of fresh, crisp apples, cook them down into a glossy cinnamon spiced syrup, and seal them into jars that will sit happily on your shelf for up to a year. When pie season sneaks up on you, or you just need a fast dessert, you simply pour a jar into a crust and bake.
Before we get cooking, the right tools and ingredients make a real difference here. A good water bath canner, a reliable jar lifter, and an apple peeler corer will save you a huge amount of time and mess, and using bottled lemon juice rather than fresh is actually a food safety requirement for canning, not just a suggestion. These are the products that genuinely help this recipe shine:
Choosing and Prepping Your Apples
Not every apple is cut out for canning. You want a firm, tart baking apple that holds its shape through blanching, cooking, and processing without turning to mush. Granny Smith apples are the classic choice, but Honeycrisp, Braeburn, and Jonagold also work beautifully. Avoid soft, mealy varieties like Red Delicious, since they tend to break down too much.
When you are canning apples for pie filling, uniform slices matter more than you might think. Aim for slices about half an inch thick so they cook evenly and pack neatly into your jars.
Chef's Tip: Toss your peeled apple slices in a bowl of water with a splash of lemon juice while you work through the rest of the batch. This keeps them from browning before they hit the pot.
The Secret to Safe, Thick Filling
A lot of people ask how to make apple pie filling to can without it turning watery or, worse, unsafe. The answer comes down to two things: a tested thickener and the right acidity.
This recipe for canning apple pie filling uses no Clear Jel, relying instead on cornstarch, which is far easier to find at a regular grocery store. Cornstarch works well in small batches like this one, though if you happen to have Clear Jel on hand, it is a perfectly good substitute and will give you an even glossier, more stable filling for long term storage.
The bottled lemon juice is not optional. Fresh lemons vary in acidity from fruit to fruit, and canning recipes depend on a consistent, known level of acidity to be safe for shelf storage. Bottled juice is standardized, so stick with it here.
- Use a firm, tart apple variety
- Blanch apples briefly before adding them to the hot syrup
- Always use bottled, not fresh, lemon juice
- Leave exactly 1 inch of headspace in each jar
Ready to make it? Here is the full step-by-step recipe:
Homemade Apple Pie Filling for Canning
Learn how to make and can apple pie filling at home with this easy, small-batch recipe, perfect for stocking your pantry with ready-to-bake apple pie any time of year.
Ingredients
- 6 lb apples, peeled, cored, and sliced (Granny Smith or other firm baking apple)
- 4 1/2 cups granulated sugar
- 1 cup cornstarch, for thickening; see notes for a no-Clear-Jel option
- 2 tsp ground cinnamon
- 1/2 tsp ground nutmeg, optional, freshly grated preferred
- 5 cups water, divided
- 1/2 cup bottled lemon juice, bottled, not fresh-squeezed, for consistent acidity
- 1/2 tsp salt, optional
Instruction
Wash and prepare your canning jars: sterilize 7 to 8 quart-size (or 14 to 16 pint-size) mason jars, along with new lids and bands. Keep jars hot until ready to fill.
Peel, core, and slice the apples into 1/2 inch thick wedges. You should have about 18 to 20 cups of sliced apples.
Blanch the apple slices in batches: drop them into boiling water for 1 minute, then transfer to a bowl of ice water to stop the cooking. Drain well and set aside.
In a large stockpot, whisk together the sugar, cornstarch, cinnamon, nutmeg, and salt (if using).
Gradually whisk in 5 cups of water, making sure there are no lumps of cornstarch remaining.
Bring the mixture to a boil over medium-high heat, stirring constantly, until it thickens into a glossy syrup, about 3 to 5 minutes.
Stir in the bottled lemon juice and cook for 1 more minute.
Fold the drained blanched apples into the hot syrup and gently stir to coat every slice evenly. Return to a gentle boil.
Ladle the hot apple pie filling into the prepared hot jars, leaving 1 inch of headspace.
Run a bubble remover or a clean chopstick around the inside of each jar to release trapped air, then top off with more filling if needed to maintain 1 inch headspace.
Wipe the jar rims clean with a damp cloth, center the lids, and screw on the bands until fingertip tight.
Process the jars in a water bath canner: 25 minutes for quarts, 20 minutes for pints, adjusting for your altitude.
Turn off the heat, remove the canner lid, and let the jars sit in the water for 5 minutes before transferring them to a towel-lined counter to cool undisturbed for 12 to 24 hours.
Check the seals, label the jars with the date, and store in a cool, dark pantry for up to 12 months.
Equipment
- Water bath canner
- Large stockpot
- Canning jars with lids and bands
- Jar lifter
- Canning funnel
- Bubble remover tool
- Ladle
- Apple peeler corer (optional)
Notes
Storing, Serving, and Using Your Canned Filling
Once your jars have cooled and sealed properly, store them in a cool, dark pantry or cellar. Properly processed canned apple pie filling recipes for canning like this one will keep their best quality for up to a year, and the flavor only gets better as the spices settle into the apples over the first few weeks.
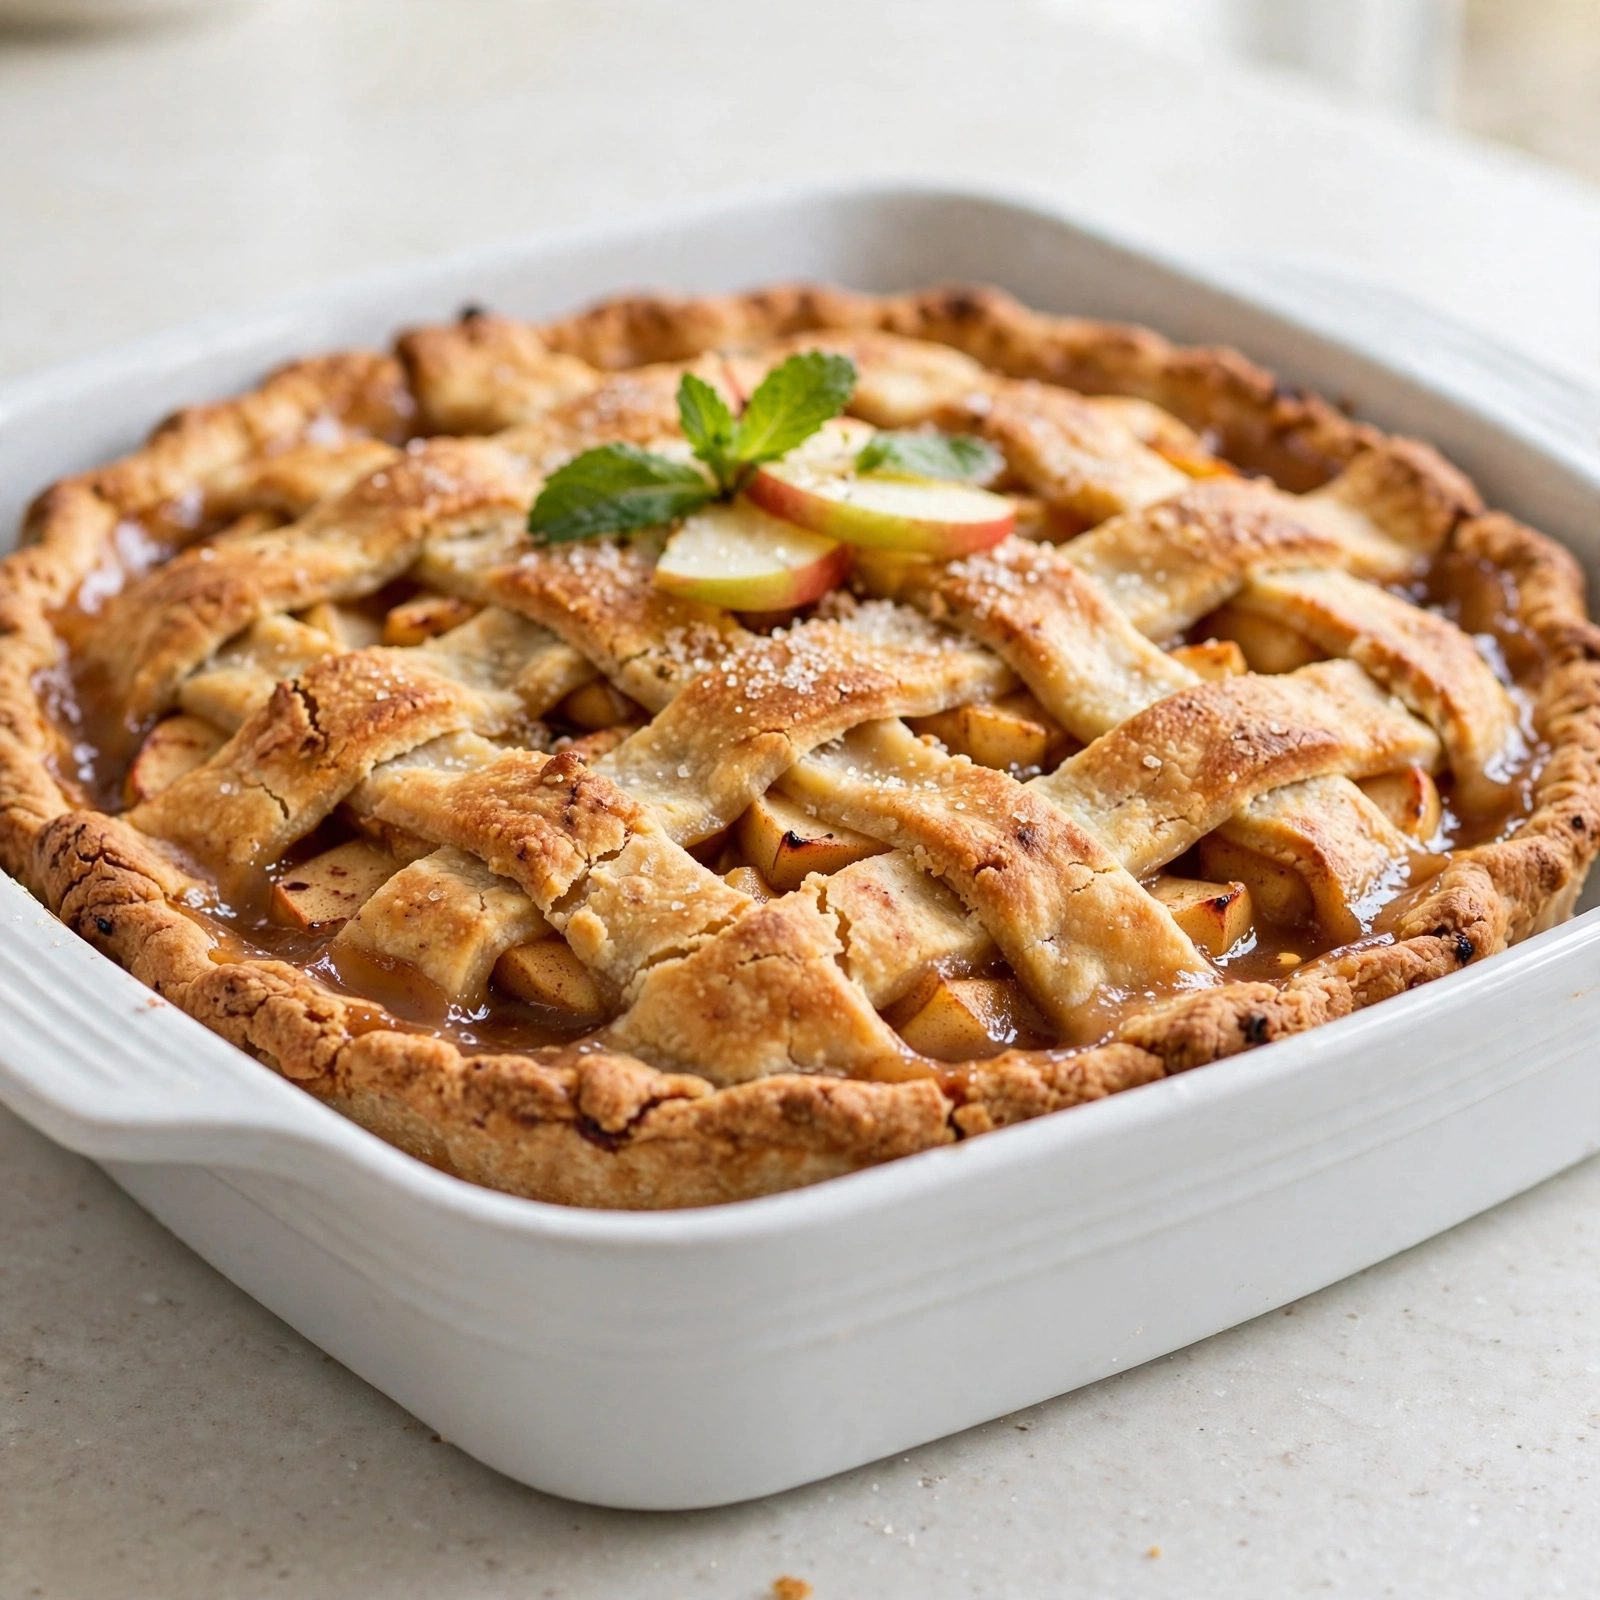
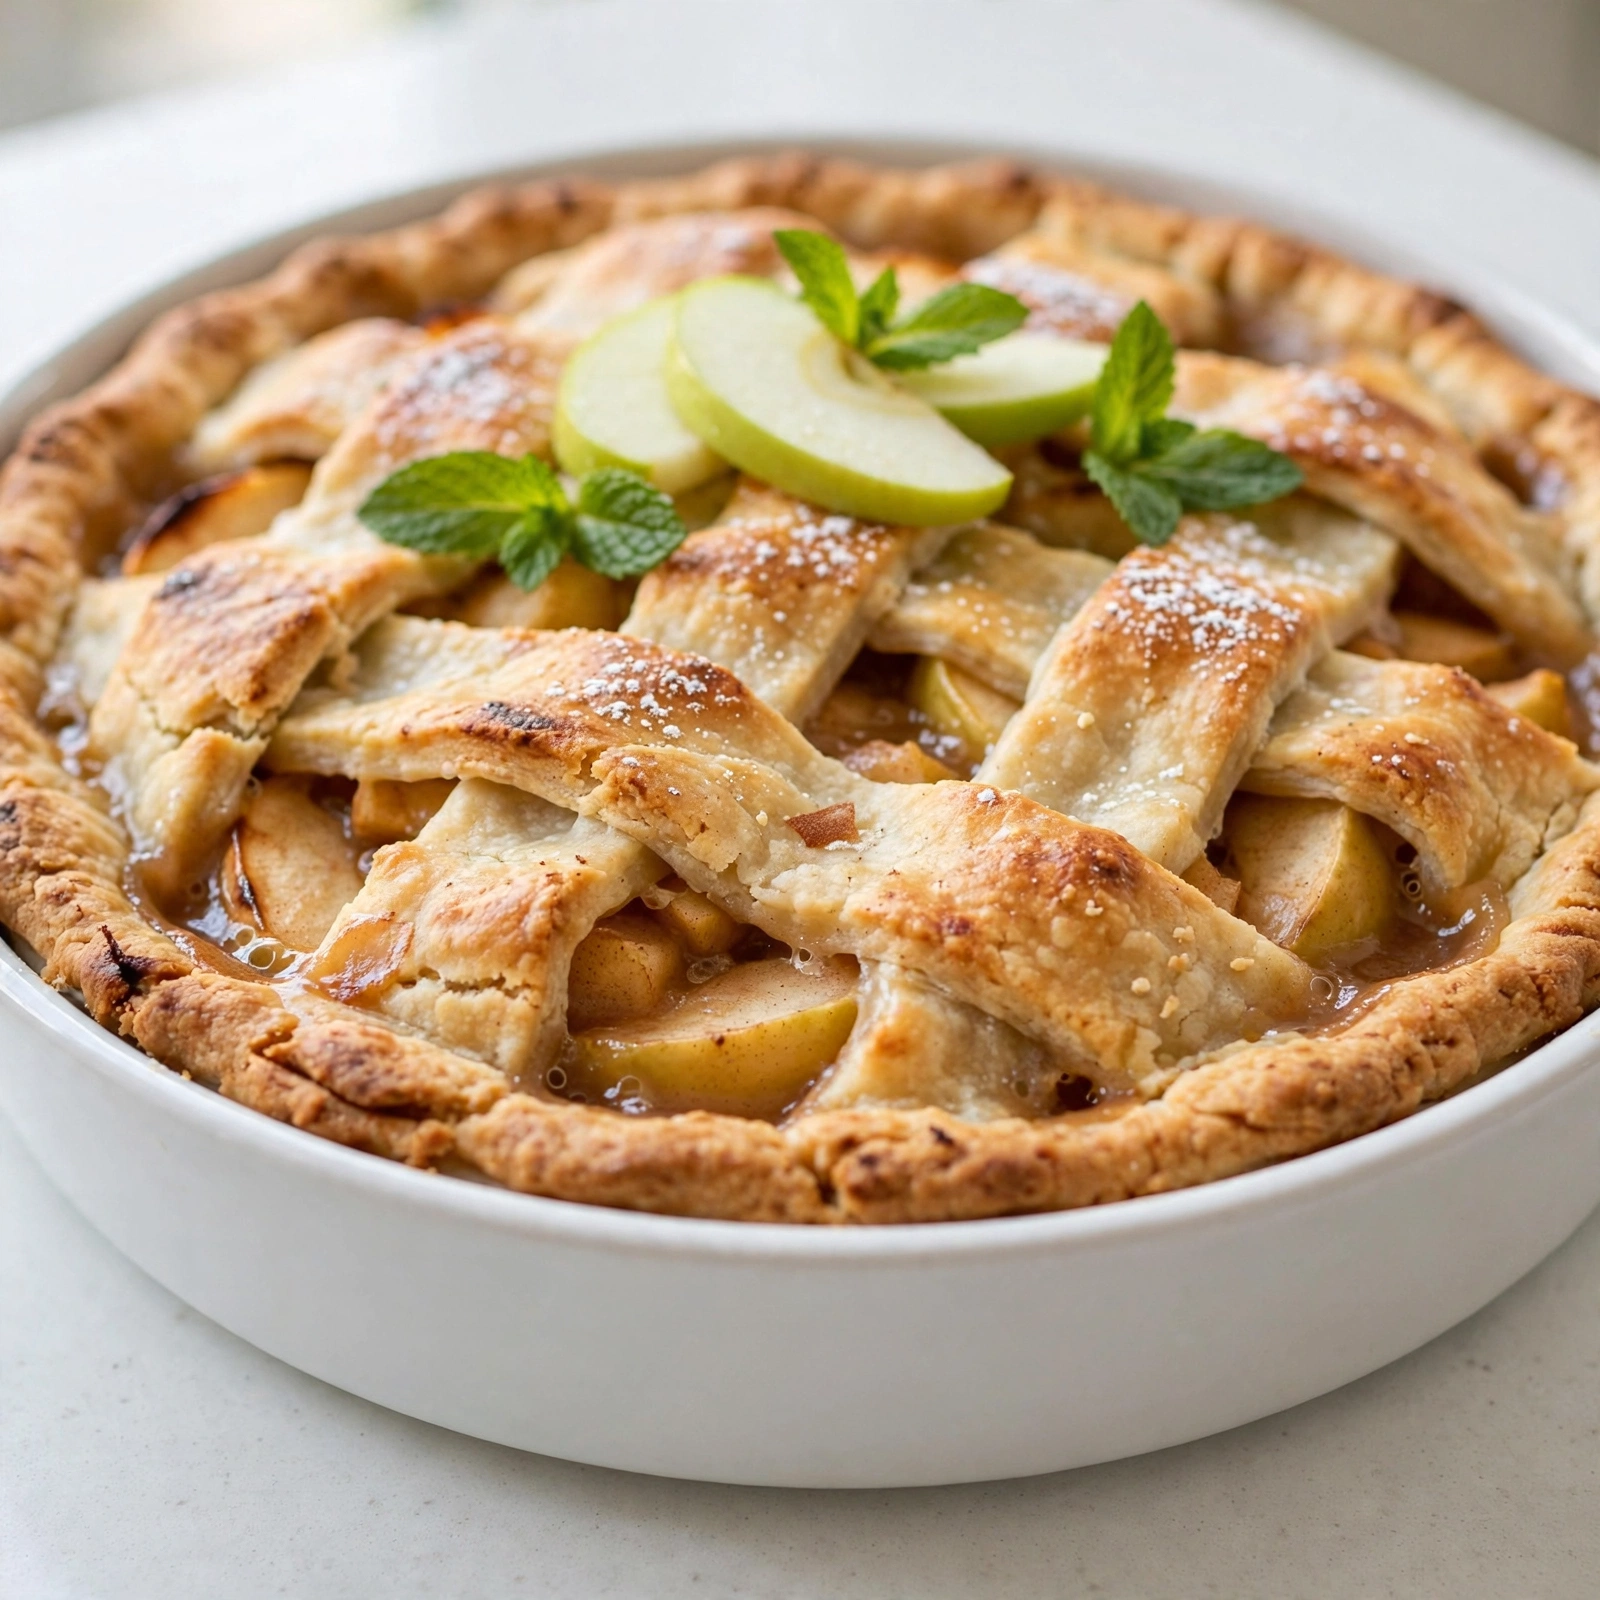
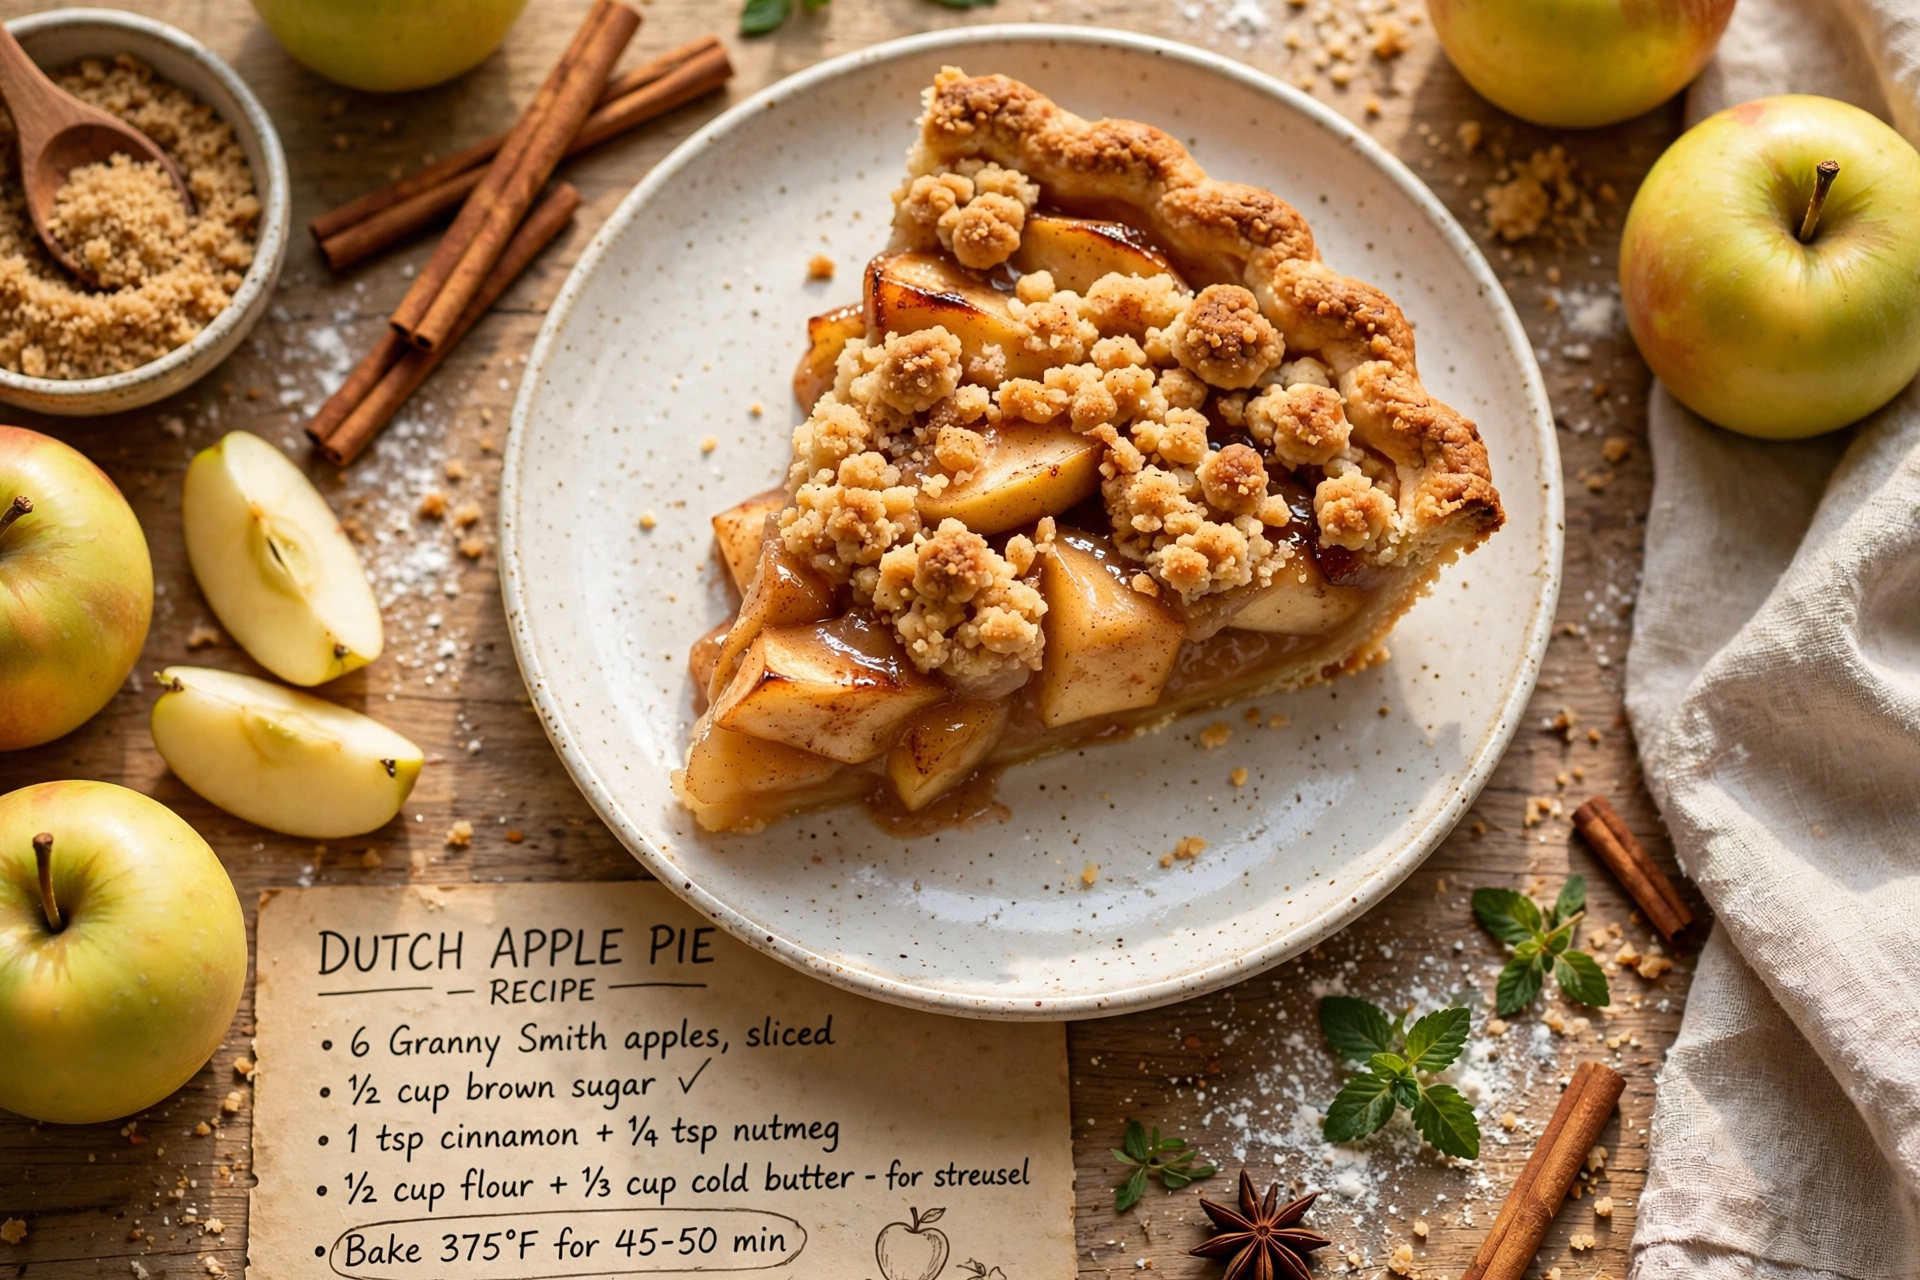
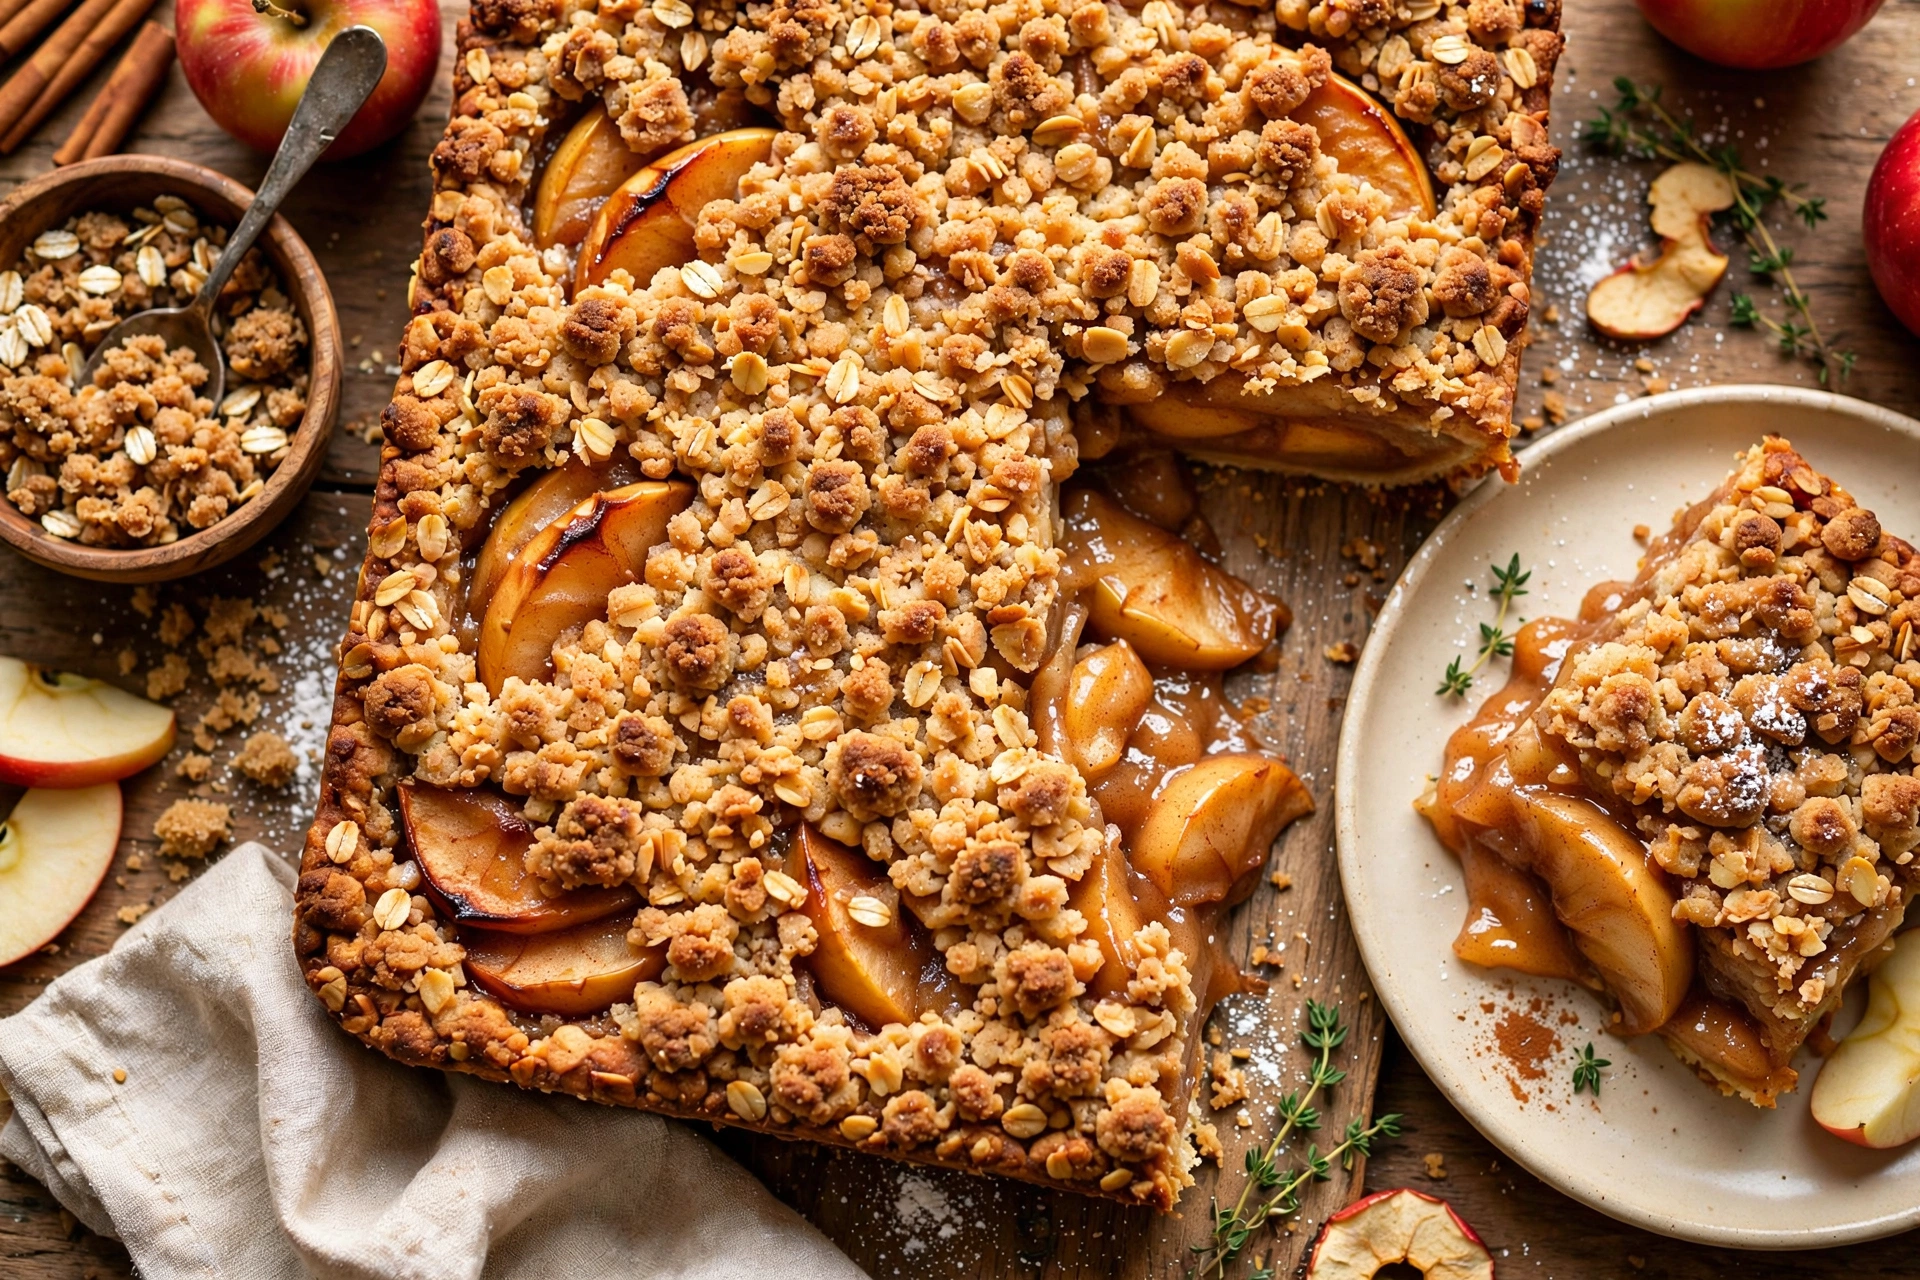
When you are ready to bake, simply pour one quart of filling into a prepared pie crust, dot with a little butter if you like, top with a second crust or a crumble topping, and bake as you would any fresh apple pie. You can also warm a jar on the stovetop and spoon it over pancakes, oatmeal, or vanilla ice cream for an instant fall dessert.
Chef's Tip: If a jar didn't seal properly within 24 hours, don't panic. Just pop it in the refrigerator and use the filling within a week, or freeze it for later.
Once you get the hang of how to make and can apple pie filling, it becomes one of those satisfying seasonal traditions you will want to repeat every single apple harvest.