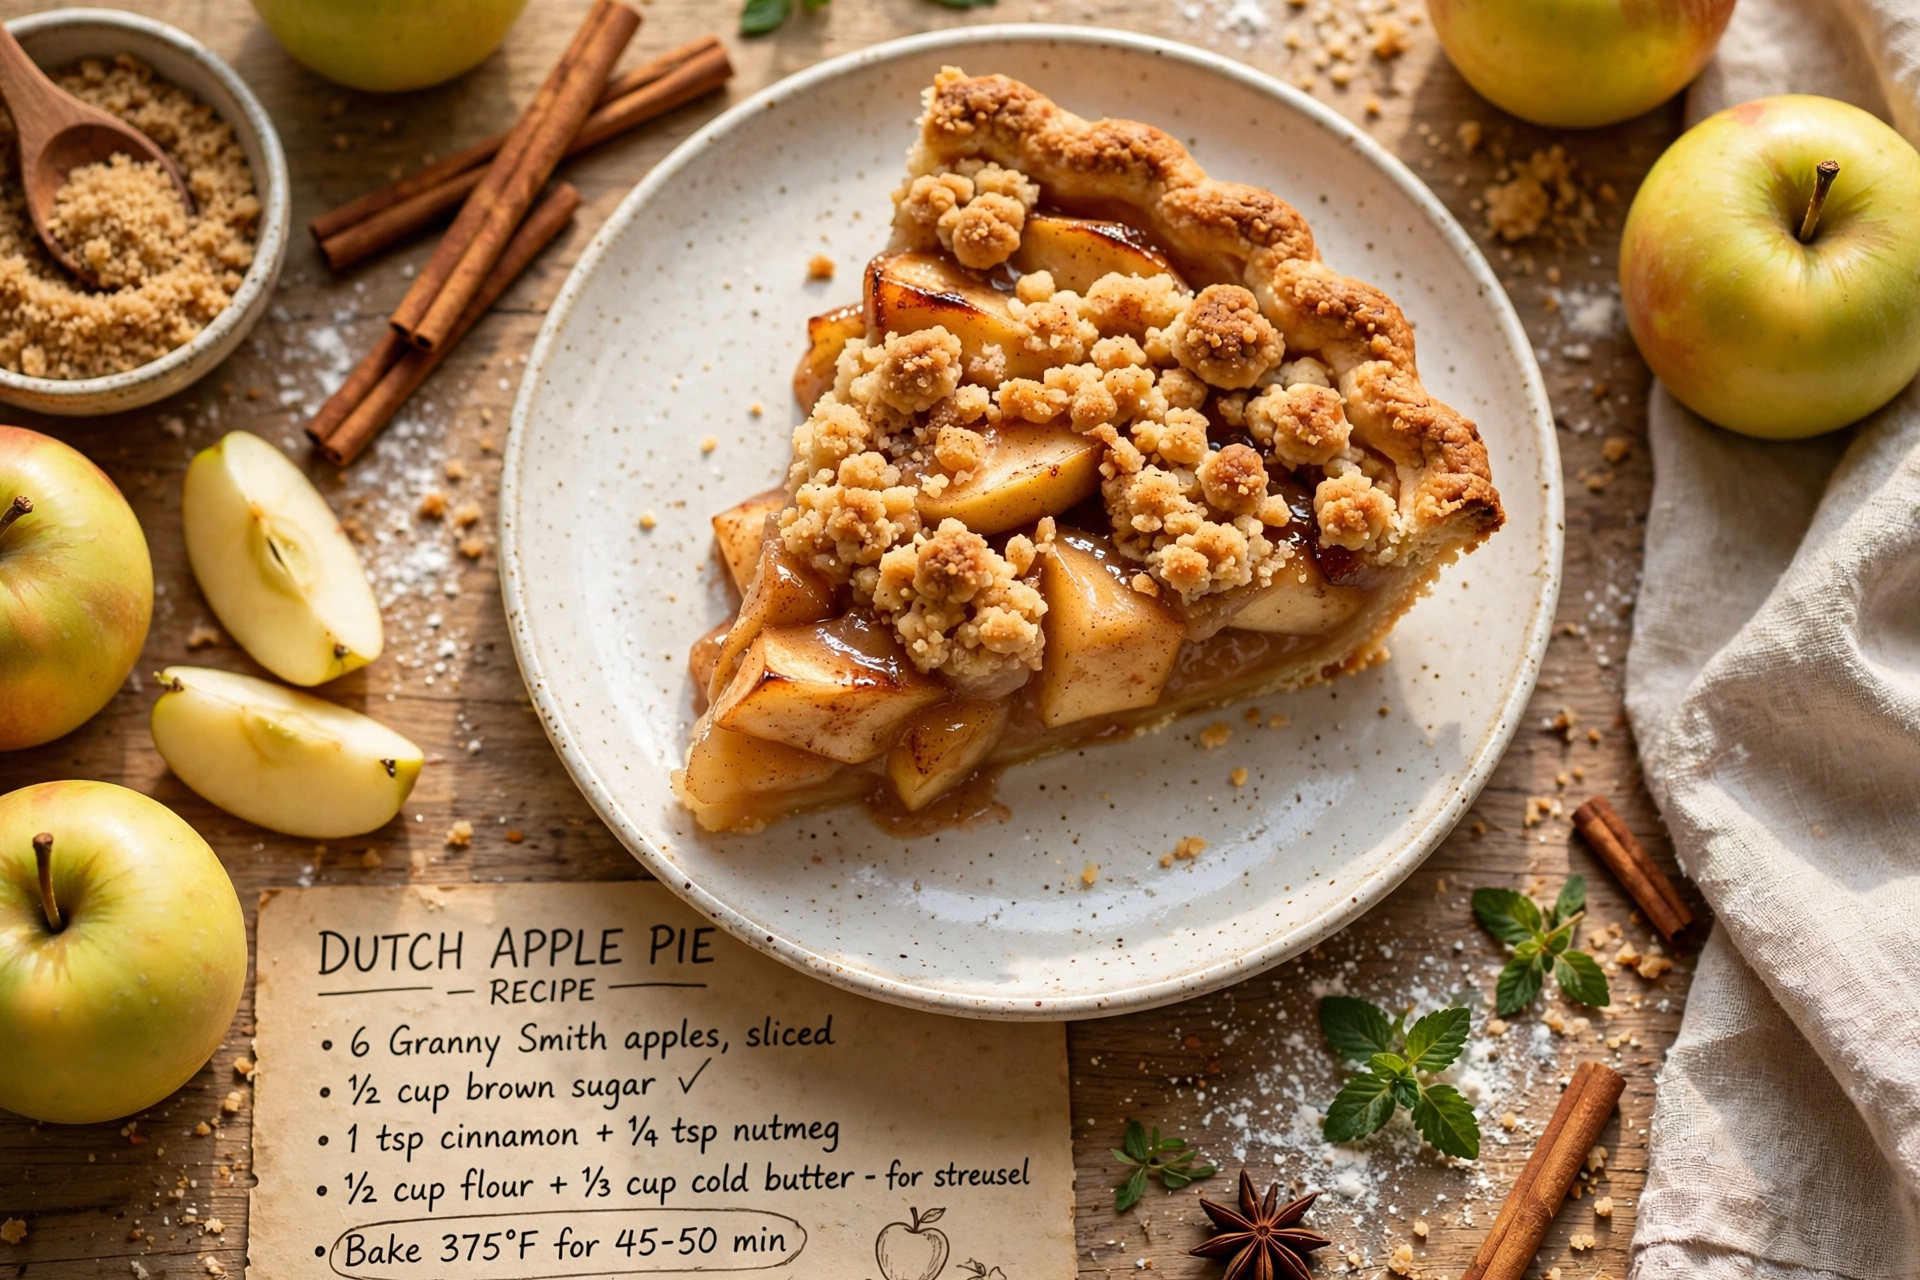
Old Fashioned Dutch Apple Pie
This Dutch Apple Pie layers spiced cinnamon apples in a flaky crust under a buttery brown sugar crumb topping for the best Dutch apple pie you'll ever bake at home.

The Best Dutch Apple Pie You'll Ever Bake
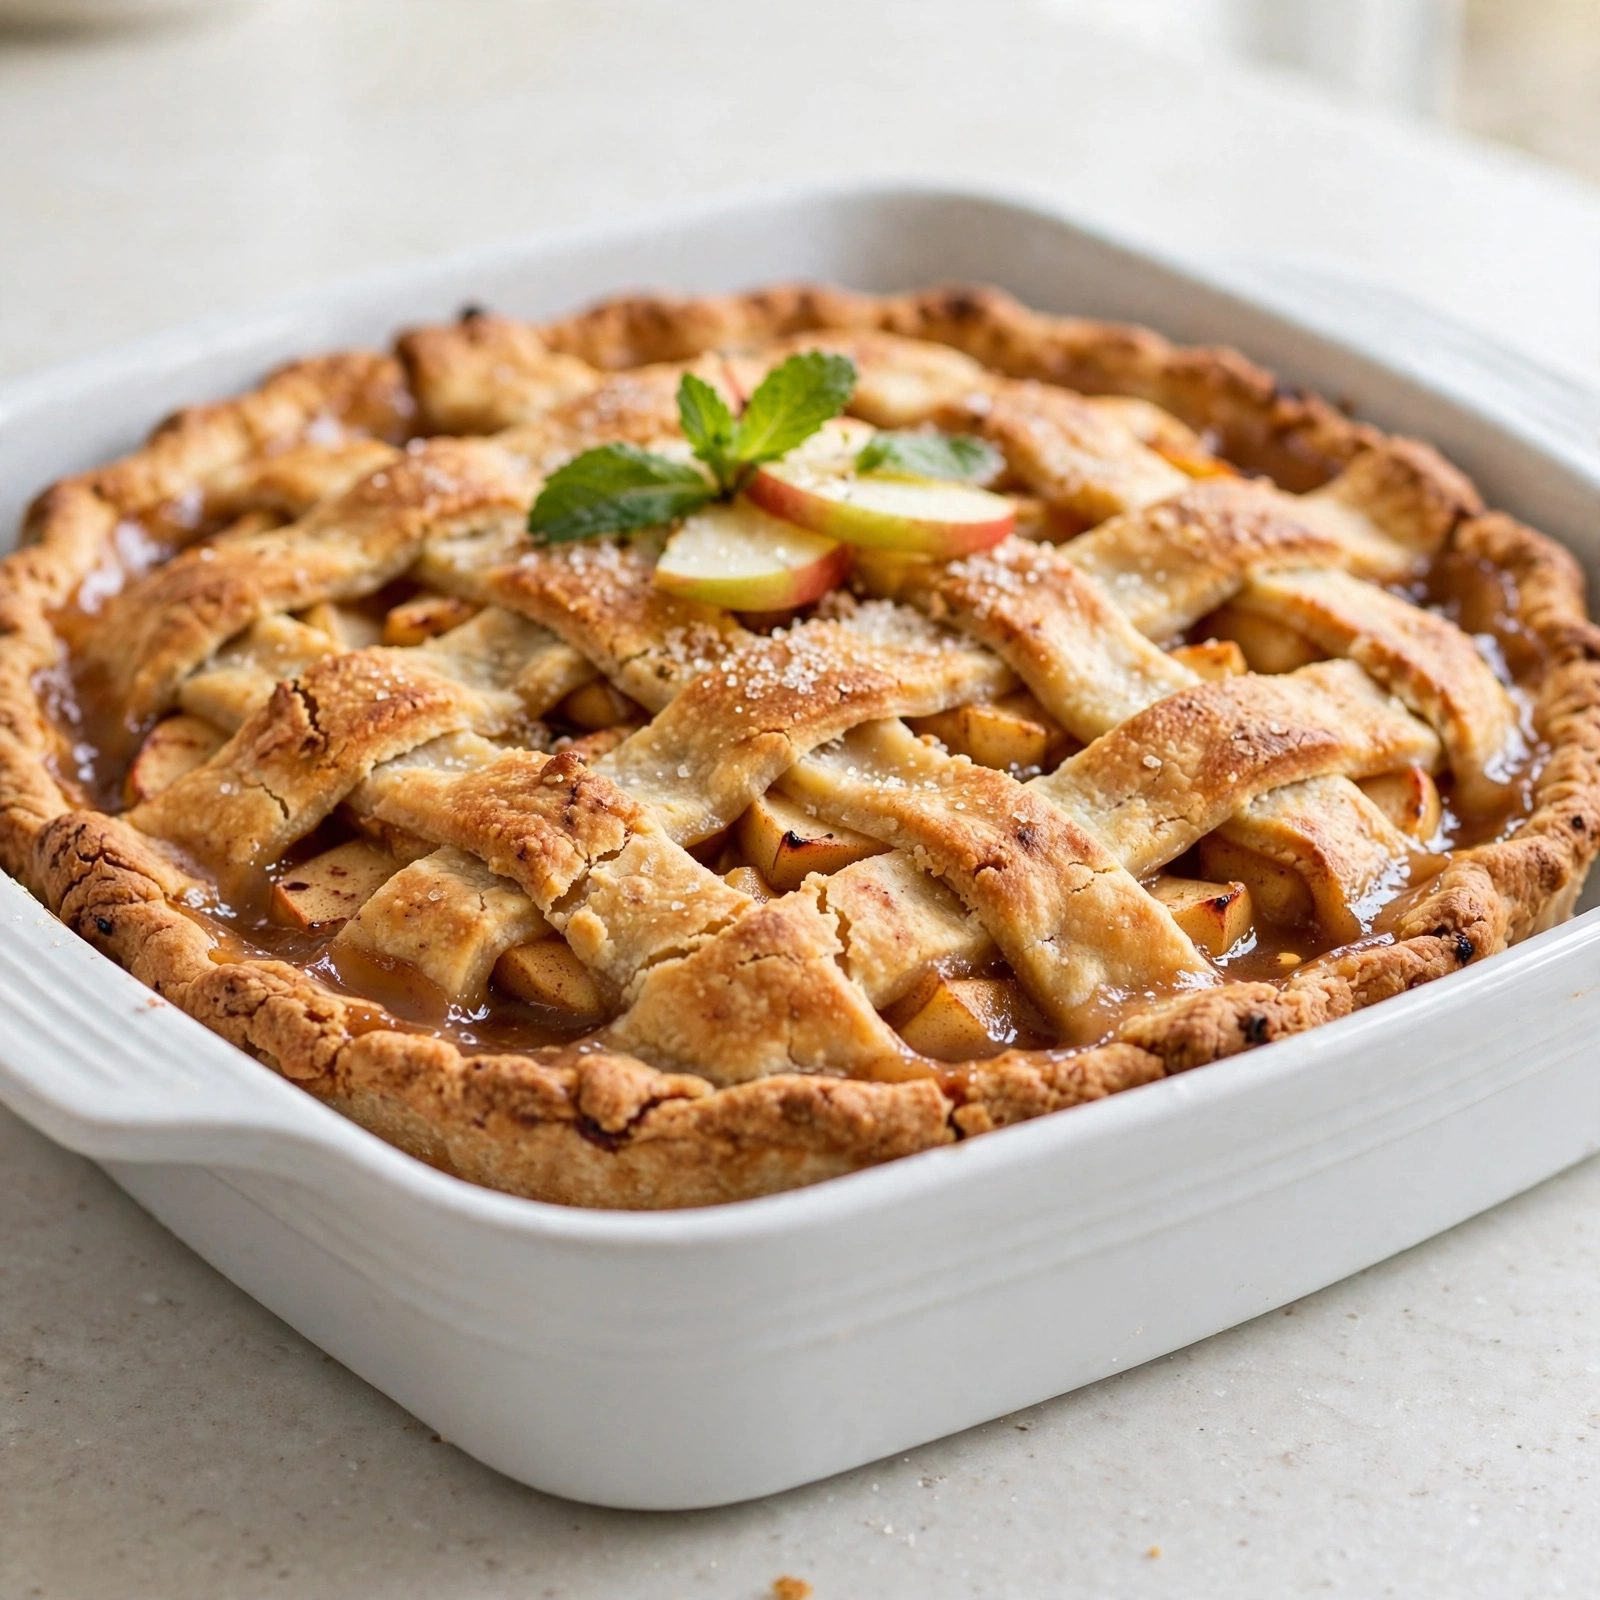
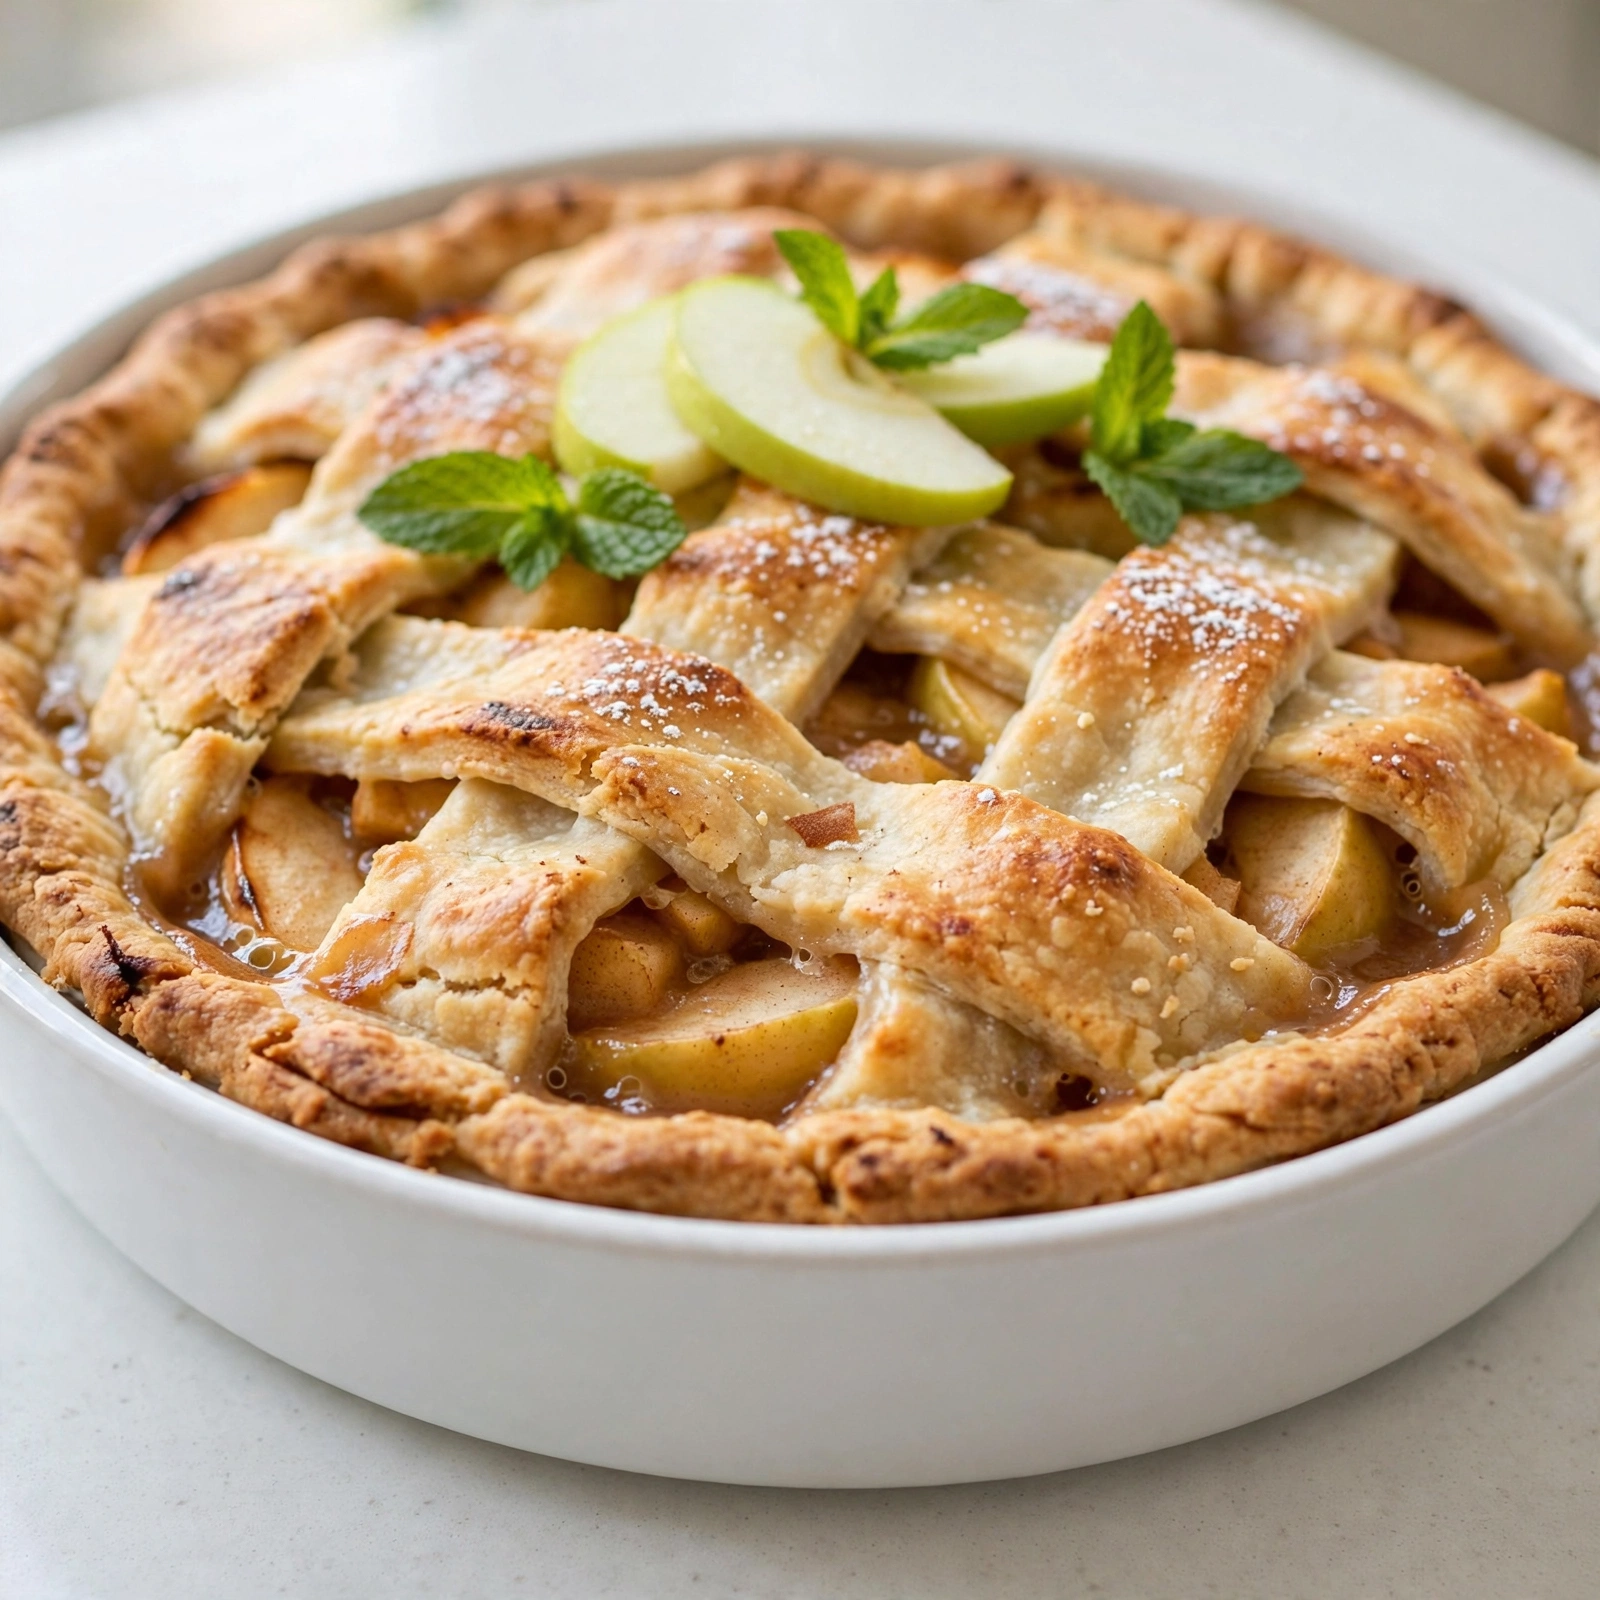
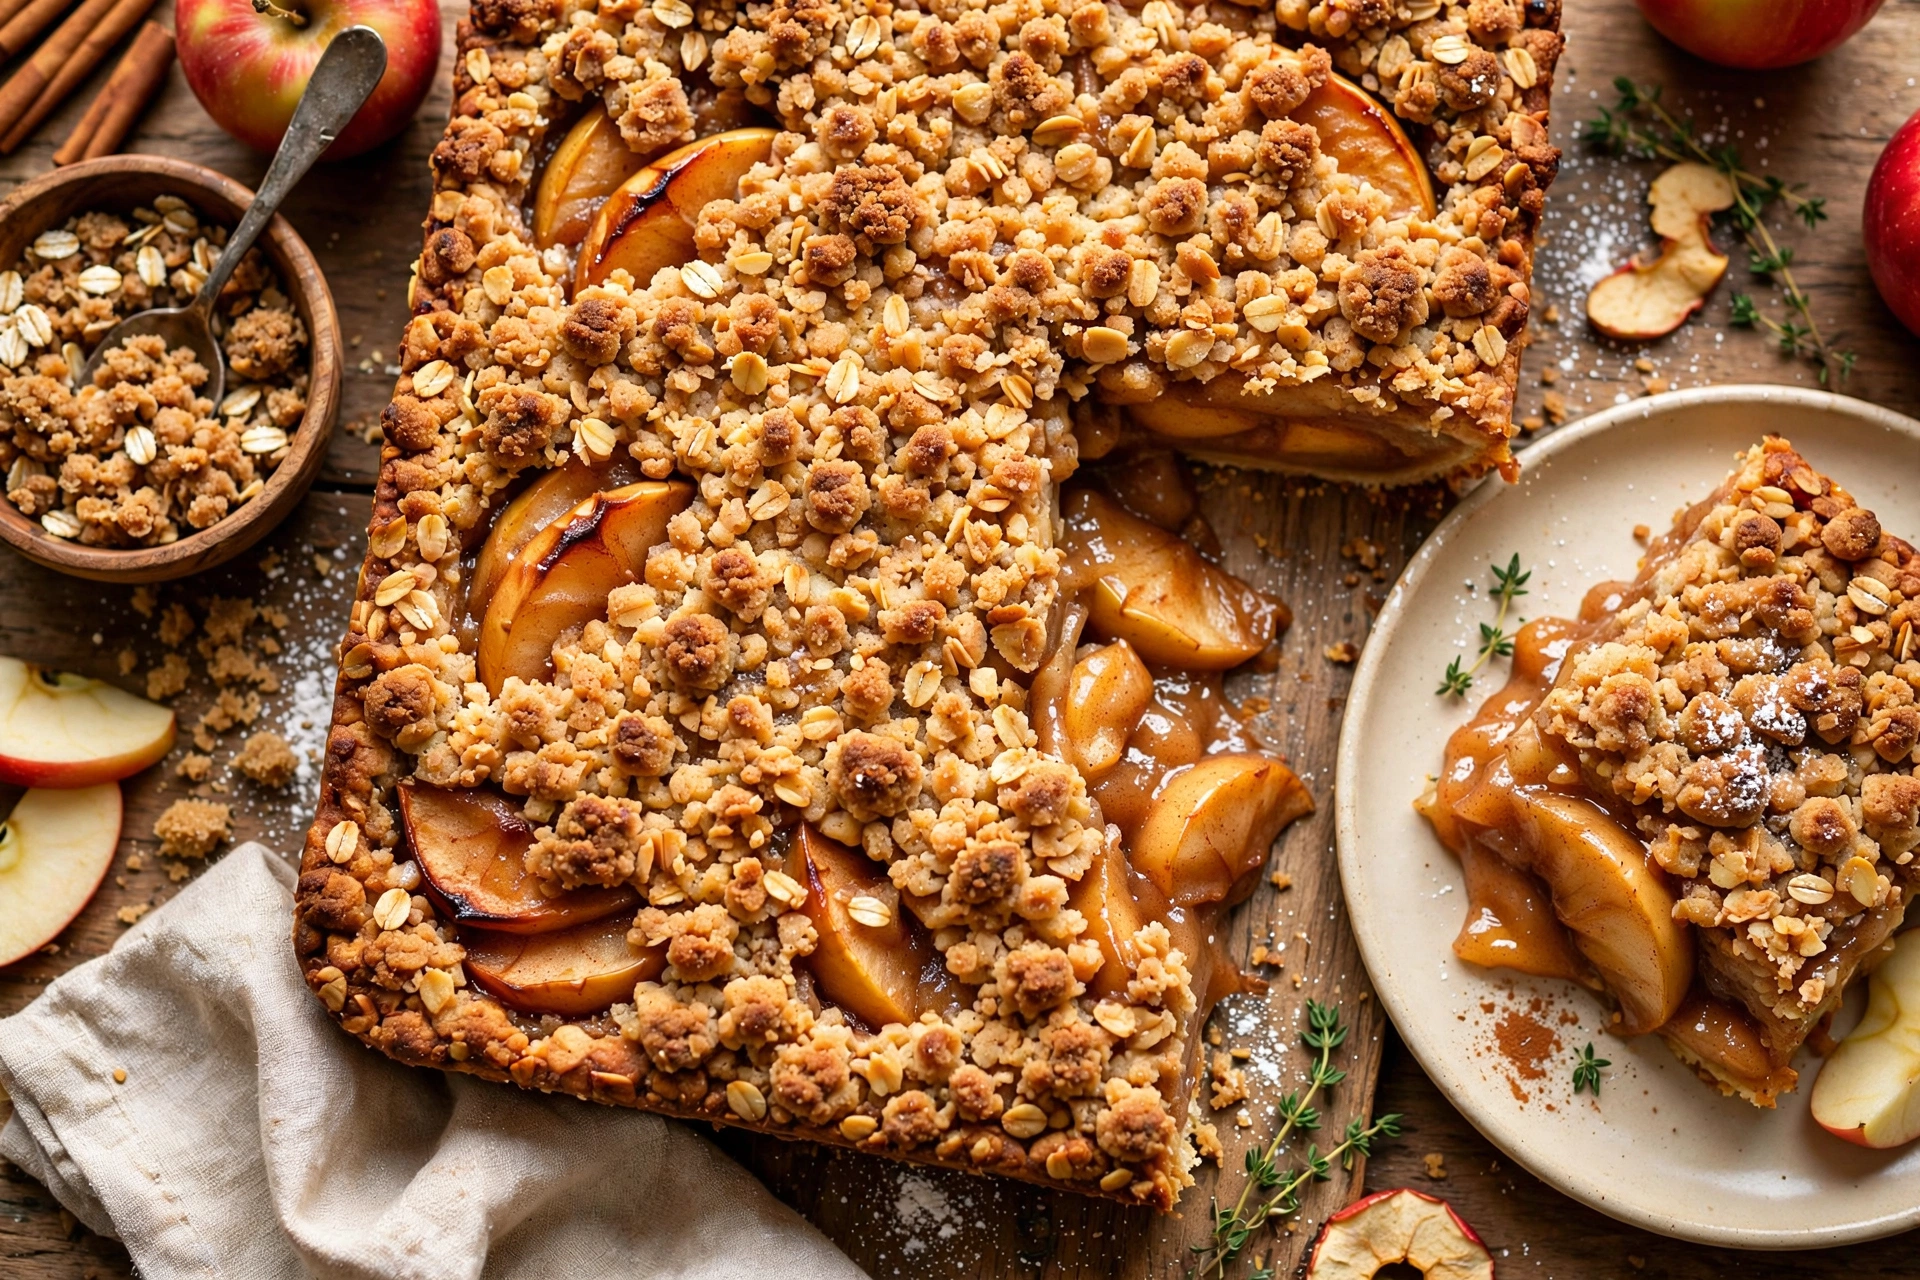
There is something magical about pulling a Dutch Apple Pie out of the oven and watching that golden, buttery crumb topping catch the light while cinnamon apple filling bubbles up around the edges. Unlike a traditional double crust apple pie, this old fashioned Dutch Apple Pie swaps the top crust for a rich streusel that turns crisp and caramelized in the oven. It is easier to make, arguably more delicious, and it fills your kitchen with the kind of smell that pulls everyone toward the oven door.
If you have ever wondered how to make Dutch Apple Pie that tastes like it came from a small town bakery, you are in exactly the right place. This recipe walks you through everything, from choosing the right apples to getting that crumb topping perfectly golden.
Before we get cooking, the right tools and ingredients make a real difference here. A sturdy pie dish that conducts heat evenly, a reliable pastry cutter for the crumb topping, and a good vegetable peeler for the apples will make this whole process smoother and more enjoyable. These are the products that genuinely help this recipe shine:
Why This Is the Best Dutch Apple Pie Recipe
What sets a truly great Dutch Apple Pie apart is the balance between the tart, tender apples and the sweet, slightly crunchy crumb topping. This recipe leans on a mix of cinnamon, brown sugar, and just enough flour to thicken the juices without making the filling gummy. The result is a pie that slices cleanly and tastes like every bite was made with intention.
A few things that make this version stand out:
- A generous crumb topping that stays crisp even after the pie cools
- Tart Granny Smith apples that hold their shape and balance the sweetness
- A splash of lemon juice that brightens the whole filling
- No need to fuss with a lattice or top crust
Chef's Tip: Toss your sliced apples with the lemon juice first, before adding the sugar and spices. This keeps them from browning while you prep the rest of the filling and adds a subtle brightness to every bite.
Choosing and Prepping Your Apples
Apple choice really matters in a Dutch Apple Pie recipe. You want apples that are firm enough to hold their structure during a long bake, but still soften into that classic tender pie filling texture. Granny Smith apples are the gold standard here because their tartness plays so well against the sweet crumb topping. If you prefer a slightly sweeter filling, swap in a few Honeycrisp apples for part of the mix.
Slice your apples thinly and evenly, about a quarter inch thick, so they cook at the same rate. Uneven slices can leave you with a filling that is mushy in some spots and undercooked in others.
Getting That Perfect Crumb Topping
The crumb topping is really the heart of what makes this an old fashioned Dutch Apple Pie rather than a standard apple pie. Cold butter is essential here. As it bakes, the cold cubes melt slowly into the flour and sugar, creating those irresistible golden clusters instead of a flat, sandy layer.
Work the butter in with your fingertips just until the mixture looks like coarse crumbs with some pea sized pieces remaining. Overworking it will melt the butter too early and flatten your topping.
Ready to make it? Here is the full step-by-step recipe:
Old Fashioned Dutch Apple Pie
This Dutch Apple Pie layers spiced cinnamon apples in a flaky crust under a buttery brown sugar crumb topping for the best Dutch apple pie you'll ever bake at home.
Ingredients
- 1 pie crust, 9-inch, homemade or store-bought, unbaked
- 6 cups Granny Smith apples, peeled, cored, and thinly sliced (about 6 medium apples)
- 1/2 cup granulated sugar
- 2 tbsp all-purpose flour, for the apple filling
- 1 1/2 tsp ground cinnamon
- 1 tbsp lemon juice, freshly squeezed
- 1/4 tsp salt, divided between filling and topping
- 1 cup all-purpose flour, for the crumb topping
- 3/4 cup light brown sugar, packed, for the crumb topping
- 1/2 cup unsalted butter, cold, cubed, for the crumb topping
Instruction
Preheat the oven to 375 degrees F (190 degrees C). Roll out the pie crust and fit it into a 9-inch pie dish, crimping the edges as desired. Place in the fridge to chill while you prep the filling.
In a large bowl, toss the sliced apples with granulated sugar, 2 tablespoons flour, cinnamon, lemon juice, and a pinch of salt until evenly coated.
Pour the apple mixture into the chilled pie crust, mounding the apples slightly in the center since they will shrink as they bake.
In a separate bowl, combine the 1 cup flour, brown sugar, and remaining salt for the crumb topping. Add the cold cubed butter and work it in with your fingers or a pastry cutter until the mixture forms coarse, pea-sized crumbs.
Sprinkle the crumb topping evenly over the apples, covering the entire surface.
Place the pie on a rimmed baking sheet to catch any drips, then bake for 50 to 60 minutes, until the topping is golden brown and the filling is bubbling at the edges.
If the crust or topping browns too quickly, loosely tent the pie with foil for the last 15 to 20 minutes of baking.
Let the pie cool on a wire rack for at least 2 hours before slicing to allow the filling to set.
Equipment
- 9-inch pie dish
- Rolling pin
- Large mixing bowls
- Pastry cutter or fork
- Rimmed baking sheet
- Wire cooling rack
Notes
Serving and Storing Your Dutch Apple Pie
Let the pie cool for at least two hours before slicing. I know this is the hardest part, but the filling needs time to set, or your slices will slide apart on the plate. Serve it slightly warm or at room temperature with a scoop of vanilla ice cream or a dollop of freshly whipped cream.
Store any leftovers loosely covered at room temperature for up to two days, or in the refrigerator for up to five days if your kitchen runs warm. To bring back that fresh baked crispness, reheat individual slices in a 300 degree F oven for about ten minutes rather than using the microwave, which can make the topping soggy.
Chef's Tip: This pie freezes wonderfully, either baked or unbaked. If freezing unbaked, assemble the pie completely, wrap it tightly, and freeze for up to three months. Bake straight from frozen, adding about 15 extra minutes to the cook time.
However you slice it, this Dutch Apple Pie recipe is the kind of dessert that disappears fast at potlucks, holidays, and Sunday dinners alike. Once you taste that crisp crumb topping against the soft spiced apples, you will understand why it has earned its place as a classic.